In this video, we’ll be painting a watercolor mixing chart! This is a great exercise to do if you are new to watercolors and just getting to know your paints. This will cover some of the basics in color theory. I will be using a set of 12 colors to create a huge variety of colors! This lesson is part of my color theory and mixing basics guide for beginners. Grab your supplies and let’s get painting!
For this tutorial, you’ll need:
- professional grade watercolor paper
- watercolor paints
- a medium flat brush
- a ruler
- two jars for rinsing cool & warm colors
- paper towels
- plastic tray or palette for mixing
I also created a free template for color mixing that will help you plan out your colors. You may want to grab that for some extra guidance!
Download the FREE Watercolor Mixing Guides here!
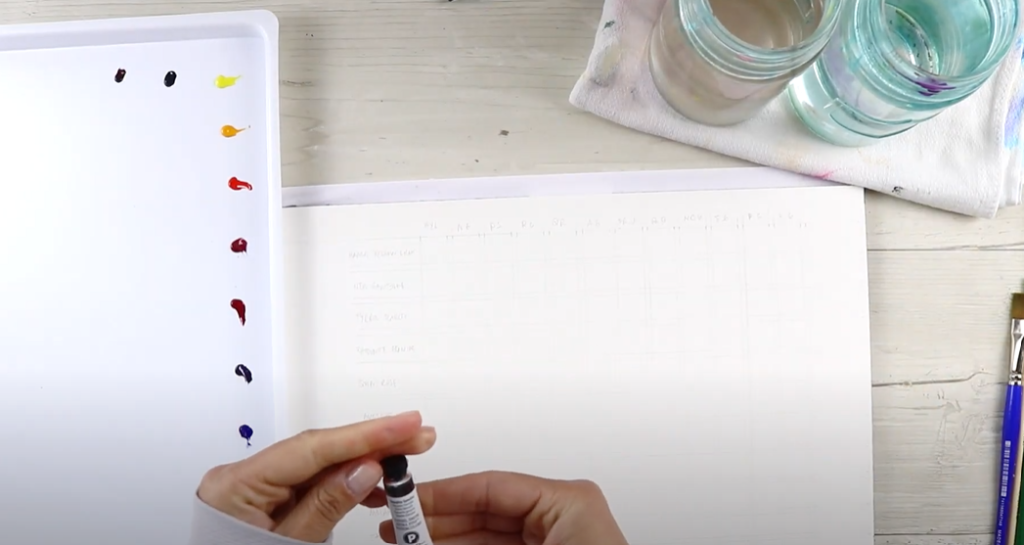
As always, we will start with high quality professional watercolor paper. I highly recommend doing this on quality paper so you can get an accurate result of your color mixes. If you need a good paper recommendation, grab my Favorite Tools & Supplies Master List! The one I’ll be using here is cold-pressed and 100% cotton. It is also a sealed block of paper, which ensures the paper won’t buckle and will stay flat. If you’re using paper that is loose, you may want to tape down your edges, because we will be using quite a bit of water.
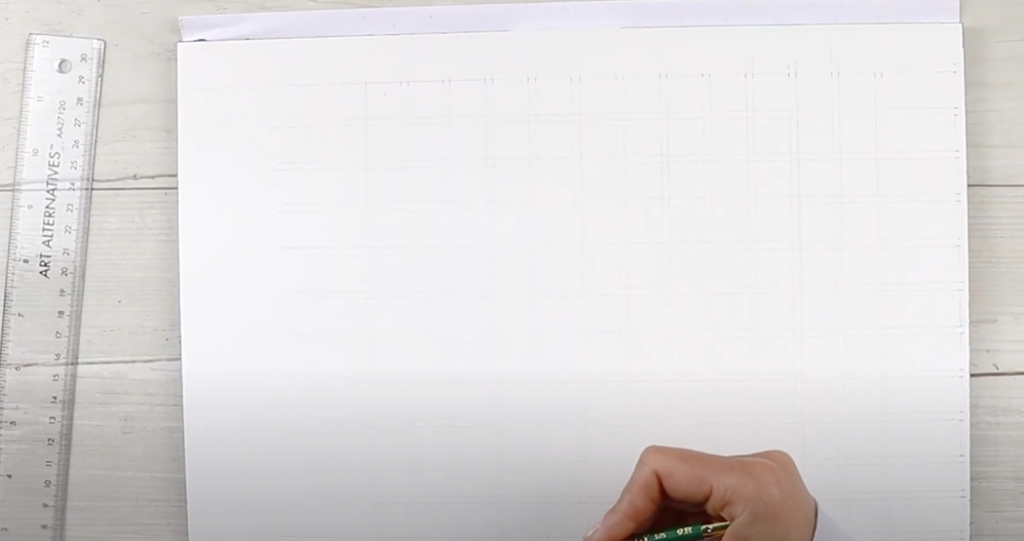
My grid that I’m laying out today needs to include 12 colors. Depending on how many colors you have, you’ll want to allocate enough squares or spaces to fit them. I used a T-square ruler to keep my lines as straight as possible. Don’t forget to leave space in between your squares for labelling your colors!
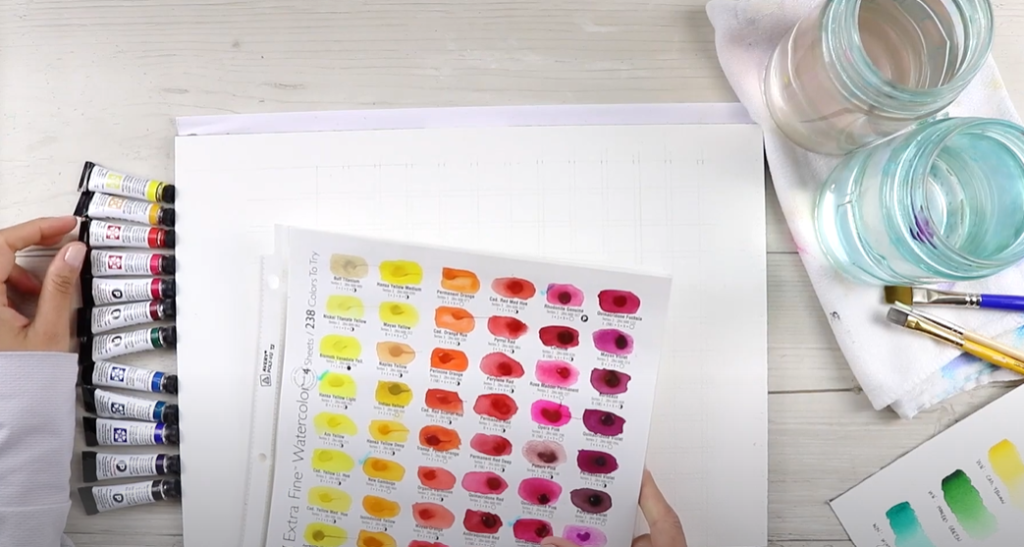
The next step is to arrange your colors in the order you would like. The order of the colors roughly follow the order on these dot cards I created using Daniel Smith paints. If you’d like to see all of their colors in detail, as well as how I created these dot card swatches shown above, check out my Daniel Smith Watercolor Review video on my YouTube channel!
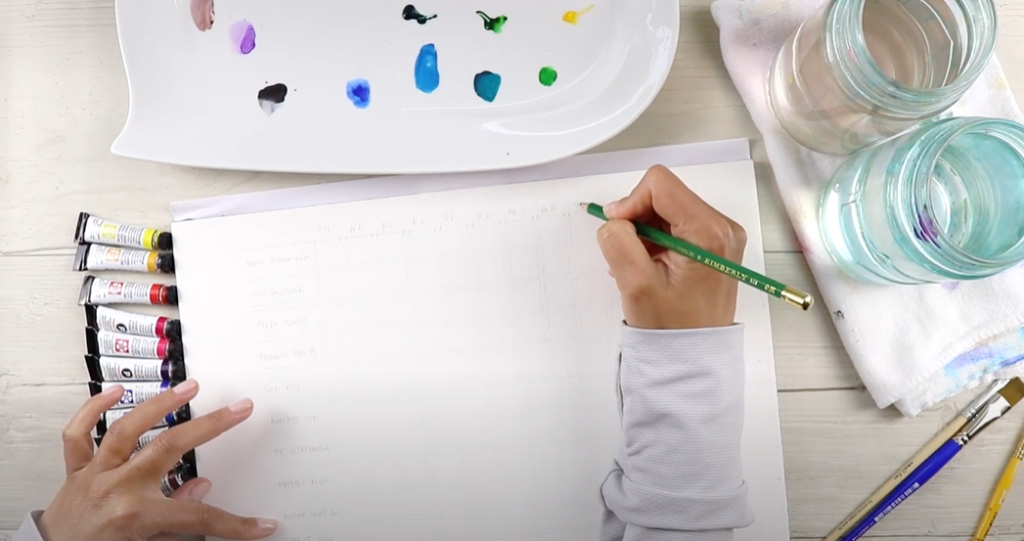
Next I am labelling my chart with a pencil on the left-hand column with all the color names so I don’t get lost while mixing. I am also labelling the top row with the same names, just abbreviated for space.
I have a plastic lid I will be using for mixing all my different color combinations. To make mixing easier, I am placing each color on my tray in the same order they’re listed on my sheet. Just a tiny dot will be enough, as a little goes a long way.
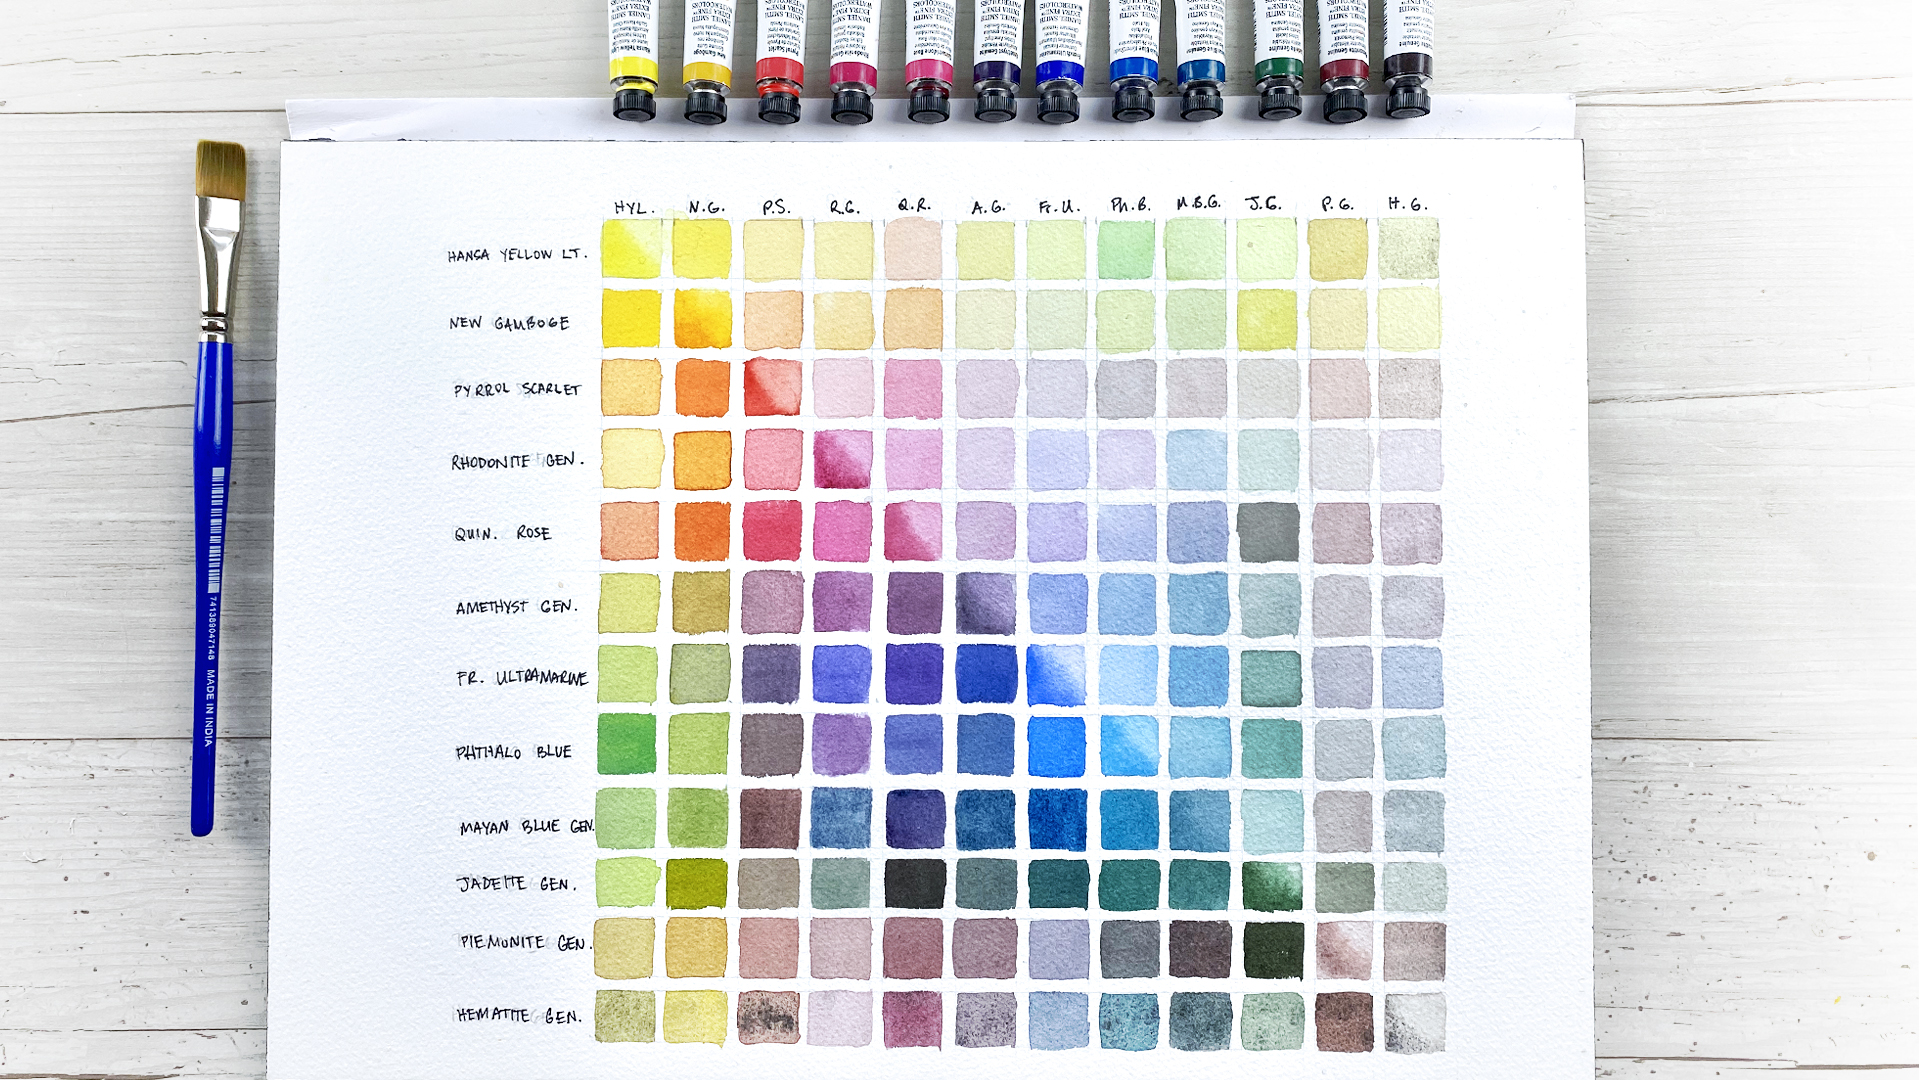
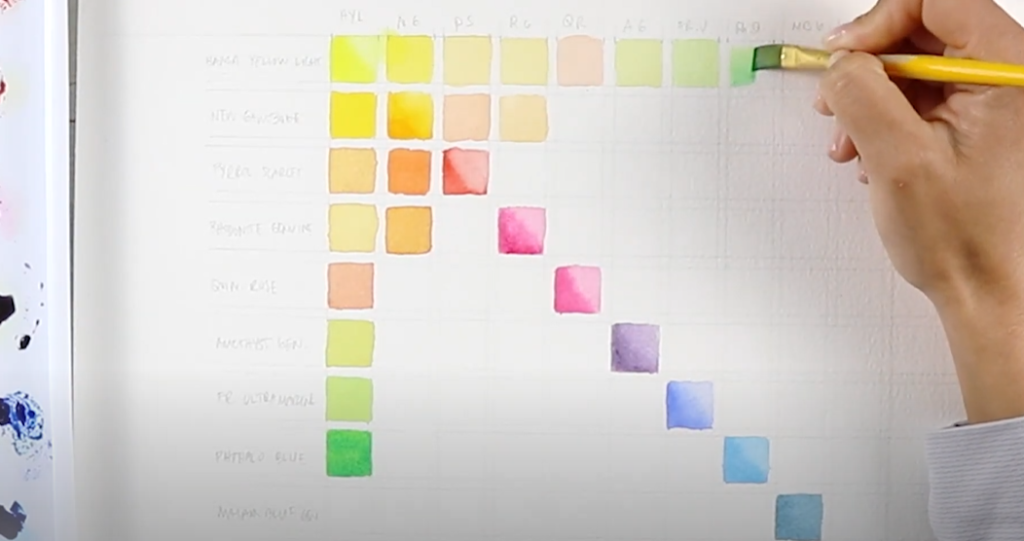
The one thing to remember here is that the diagonal on each of these row-column meeting points is going to be just the straight paint out of your tube. Again, there will be no mixes along that diagonal, so that the column and row match up as you go down your chart.
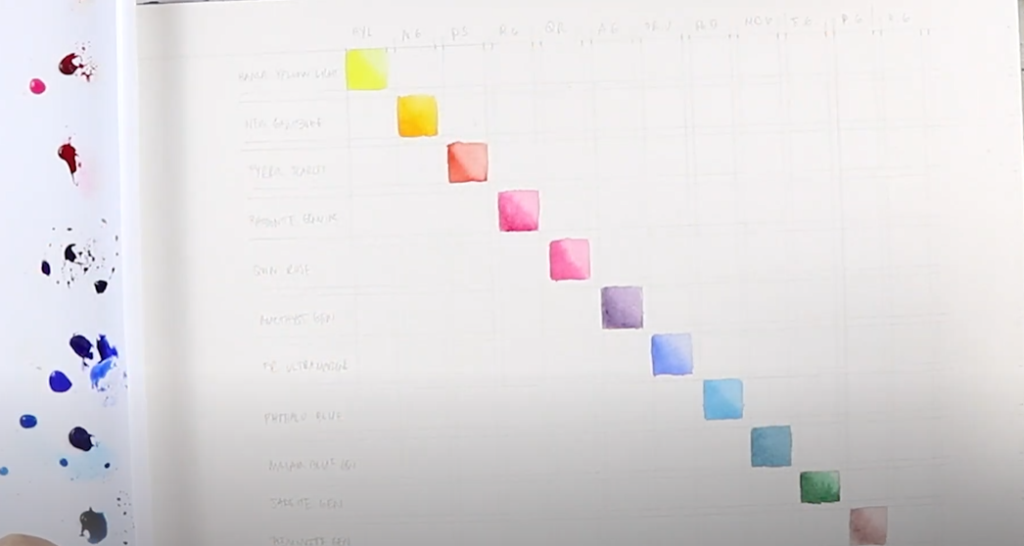
Starting at the top of my chart, I am placing each color in it’s place on the diagonal. We want the color to be saturated along the left corner, and diluted in the right corner. The reason I am not doing a flat saturation for these colors along the diagonal is because some watercolors dry differently depending on how diluted they are. Doing this split allows us to see this property. When you’re done with the diagonal we can move onto color mixes!
To do our mixes, we will look at what colors are listed on both the column and row. Let’s start with duplicate spots. Because there are two spots for each mix, we will be creating two variations for each duplicate spot. See an example on this below with the first two colors on our chart.
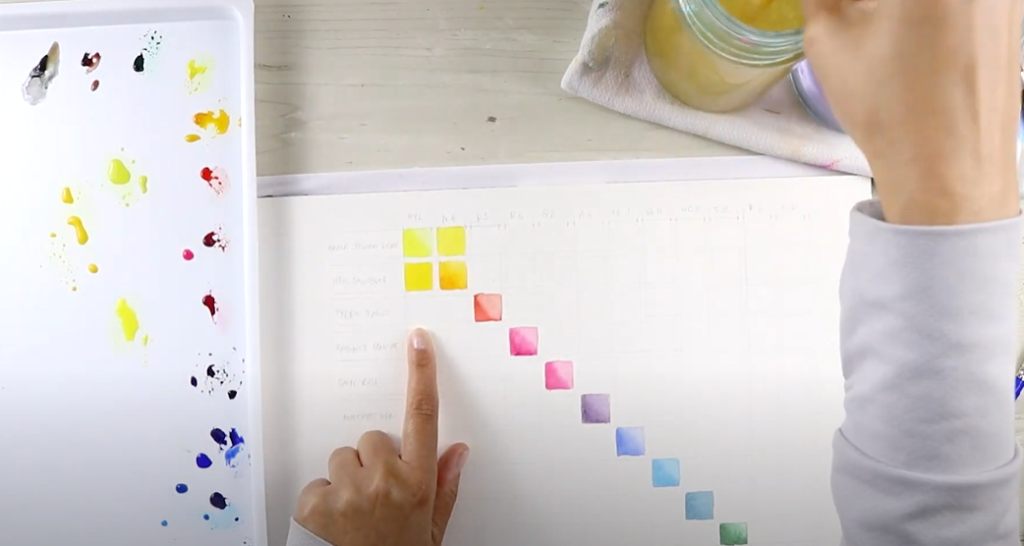
On the square below the diagonal, I’m doing a saturated version. On the square above the diagonal, I’m doing a diluted version. This ensures you don’t waste any space since you’re getting a dark and light version of each color mix. For each duplicate spot, you’ll want to create a saturated and diluted version. Here’s another example:
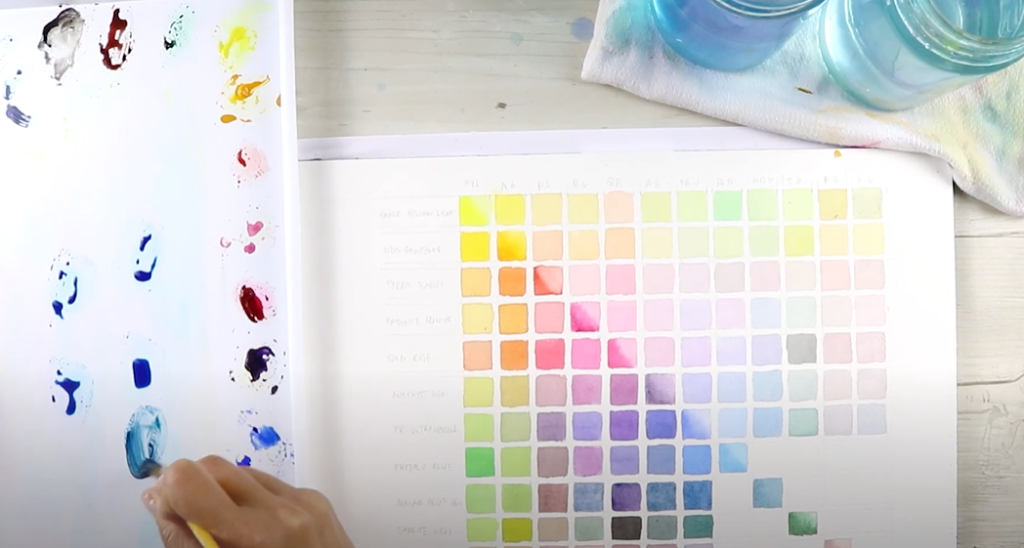
If you’ve never created a color chart before, I highly recommend going slow and taking your time! Put on some good music and get into the zone. All we’re doing is exploring different color mixes. As you continue on, you’ll begin to see your chart fill up!
Don’t forget to grab my free template to help you plan out your colors. It is a great thing to have on hand during this exercise as a reference. Download the FREE Watercolor Mixing Guides here!
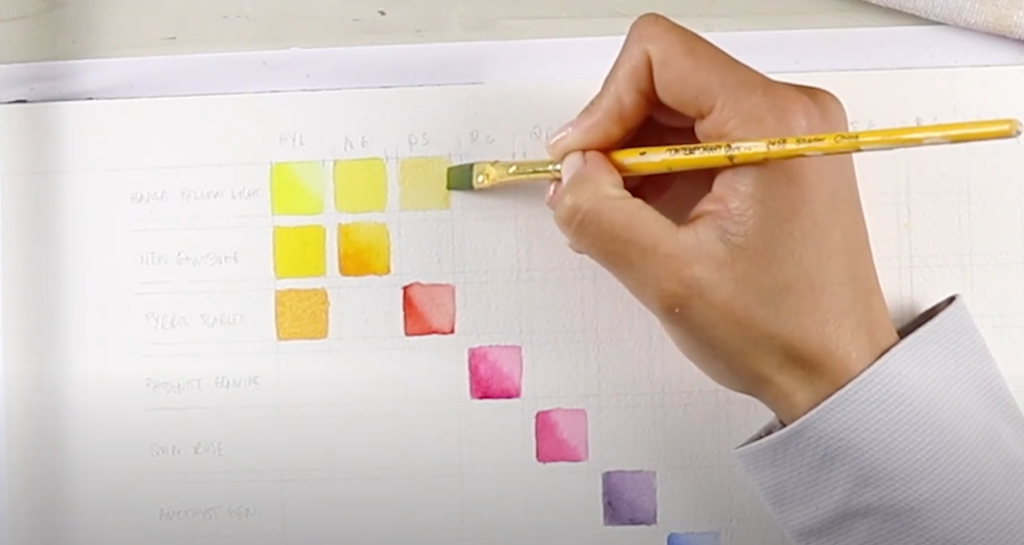
Next I’m taking small sections of the next color and pre-planning different sections. Below you can see me doing four small washes to add into my chart. This is just one extra step I take so I’m not rinsing my brush as often, which saves a little bit of time in between each color combination.
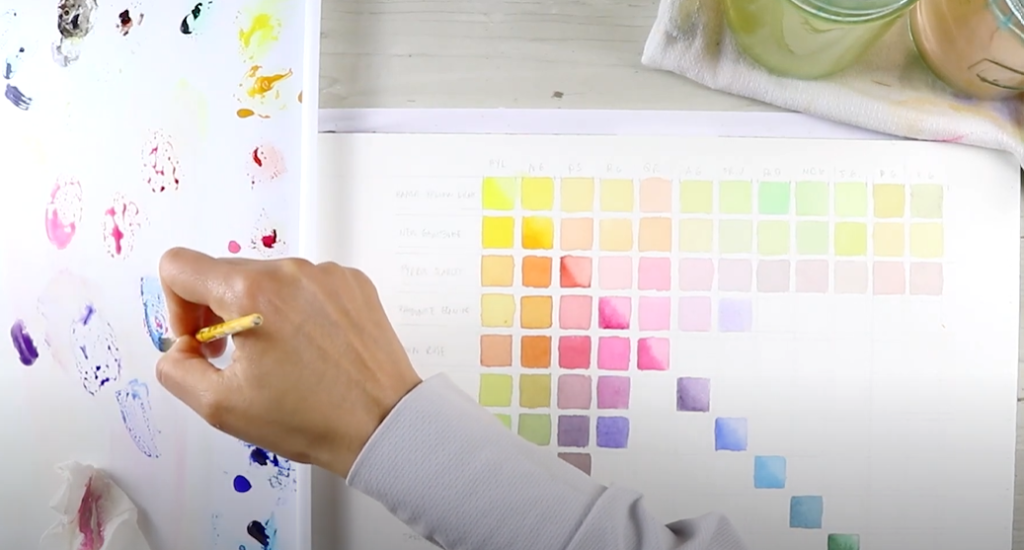
You may find at some point in this process you need to refresh your water and wipe down your palette to keep your colors as clean as possible! After I did this I started a new batch of color combinations to continue filling in my chart.
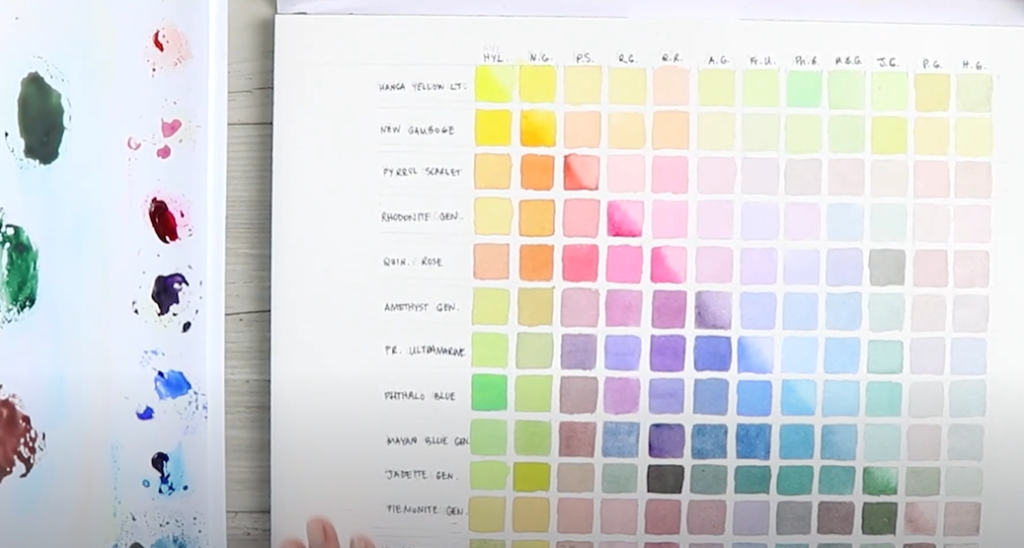
Once I finished filling out my chart, the last step is to label your color rows and columns using a sharpie pen. You can also go through as erase any pencil marks. Be sure to do this once your paint has completely dried!
This was a really fun exercise to do; I hope you painted along and enjoyed learning about color mixing! If you’d like to learn more about watercolor properties and testing your colors, check out my Making Watercolor Swatch Cards video. In this video I’ll take you step by step and we’ll create swatch cards, do testing, and learn more about watercolor properties!


Watercolor Mixing Chart for Beginners
VIEW THE COMMENTS