Today we are drawing roses! These are very simple & easy to do, and you can put them in your illustrations or your bullet journal.
In this tutorial, we will practice:
- using ink pens
- 3 different techniques to create roses
- creating clusters of roses for compositions
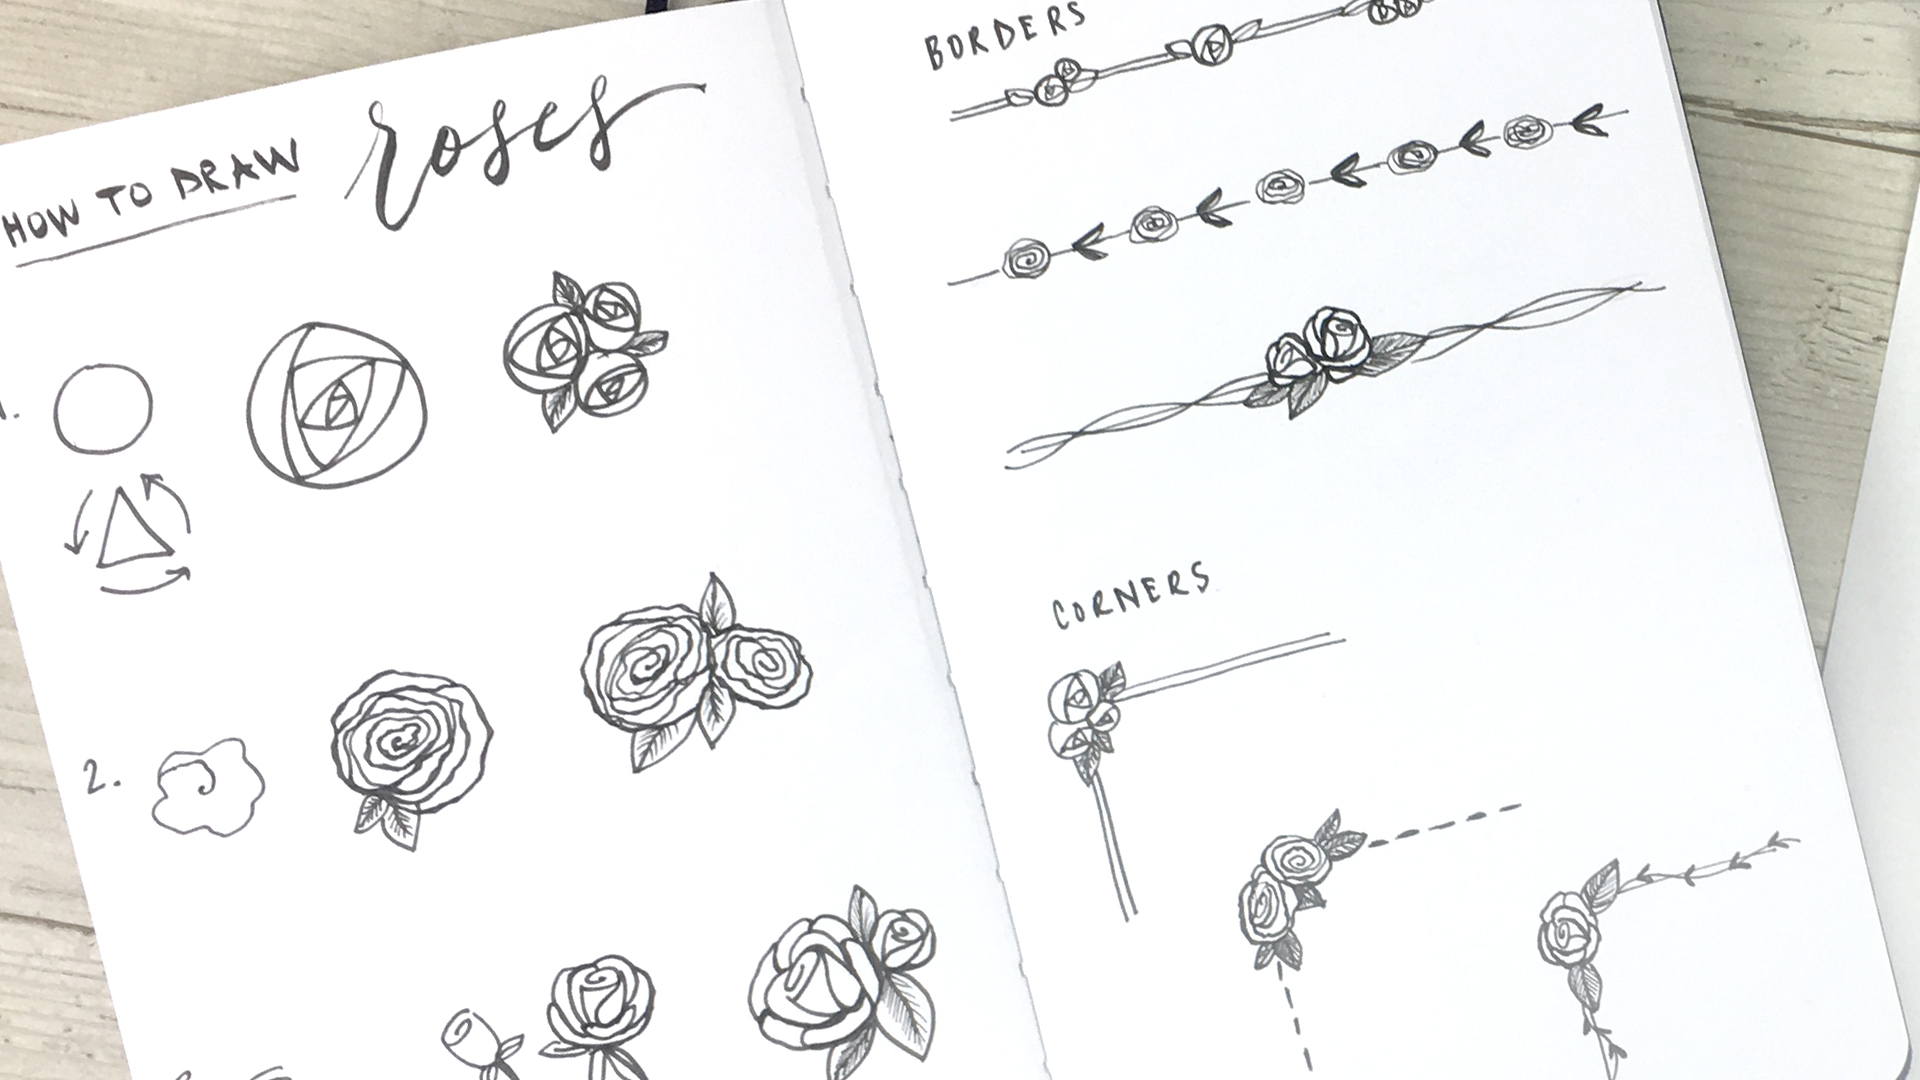
First I will show you three different ways to draw a single rose and a cluster of roses. Then I will show you some ways to use them in your illustrations or bullet journal by creating different borders and corners.
I have also created a FREE printable guide for you to use as a reference! You can download it using the form below. I also have a ton of other free resources like this in my Library of Goodies!
*By completing this form you are signing up to receive our emails and can unsubscribe at any time.
For this tutorial, you will need:
- paper or bullet journal
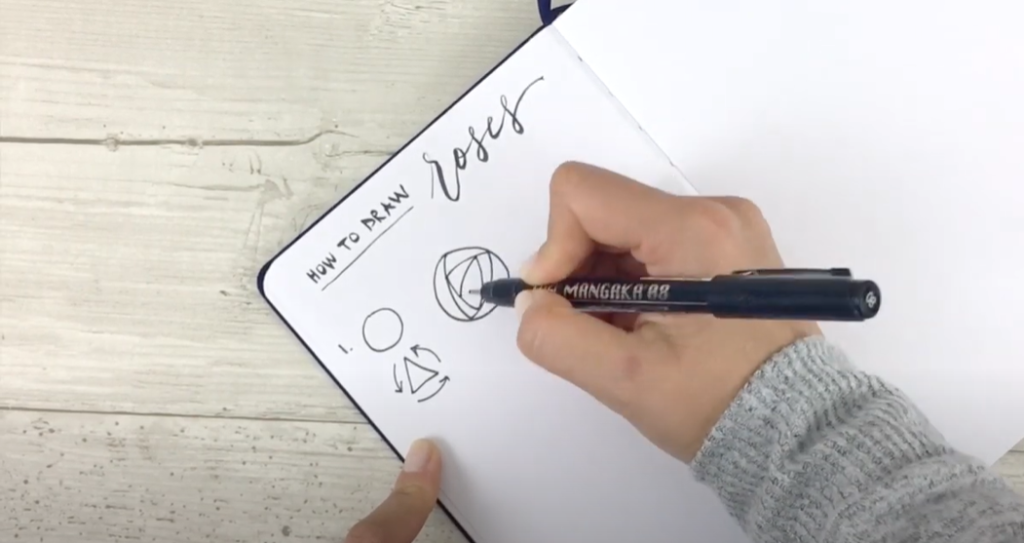
- waterproof ink pen (I used these)
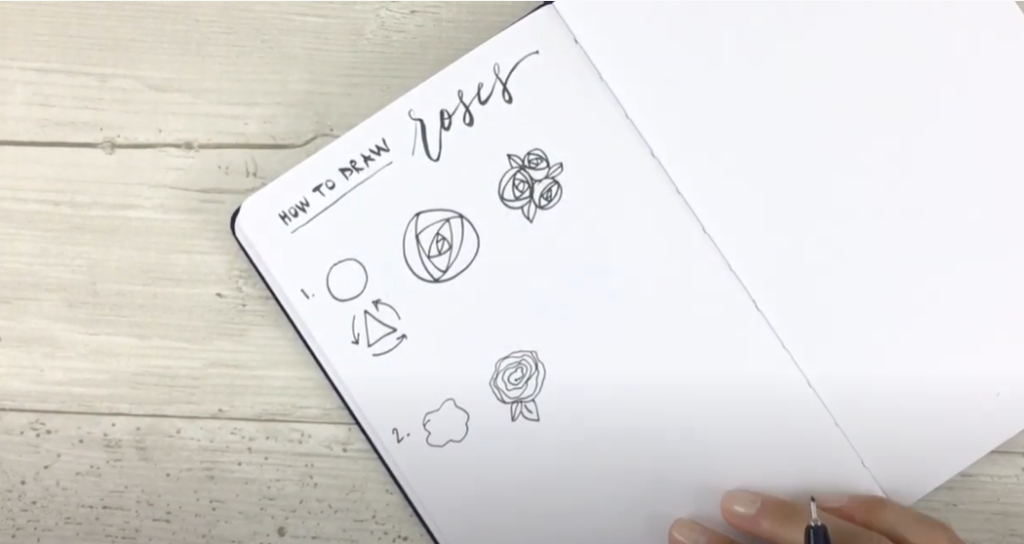
Method #1:
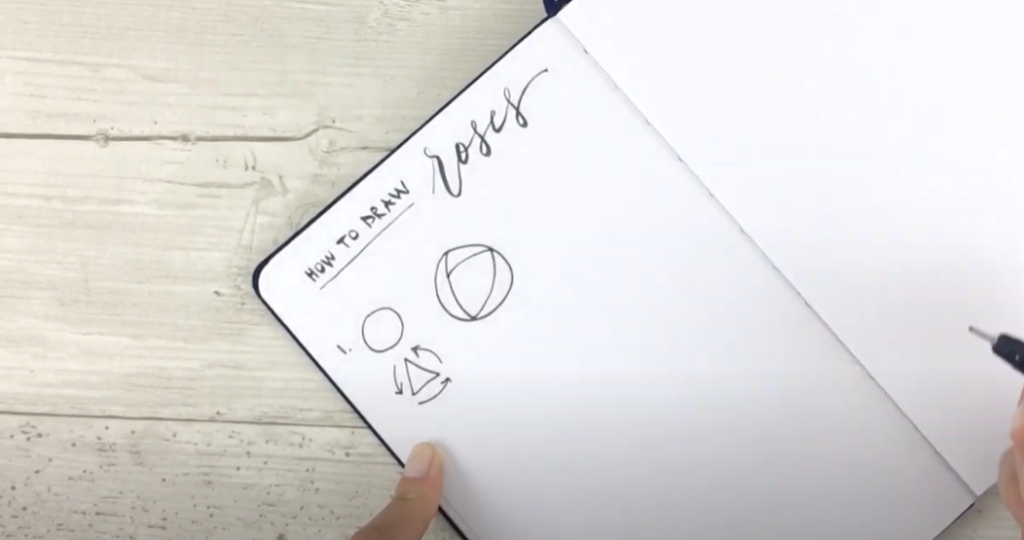
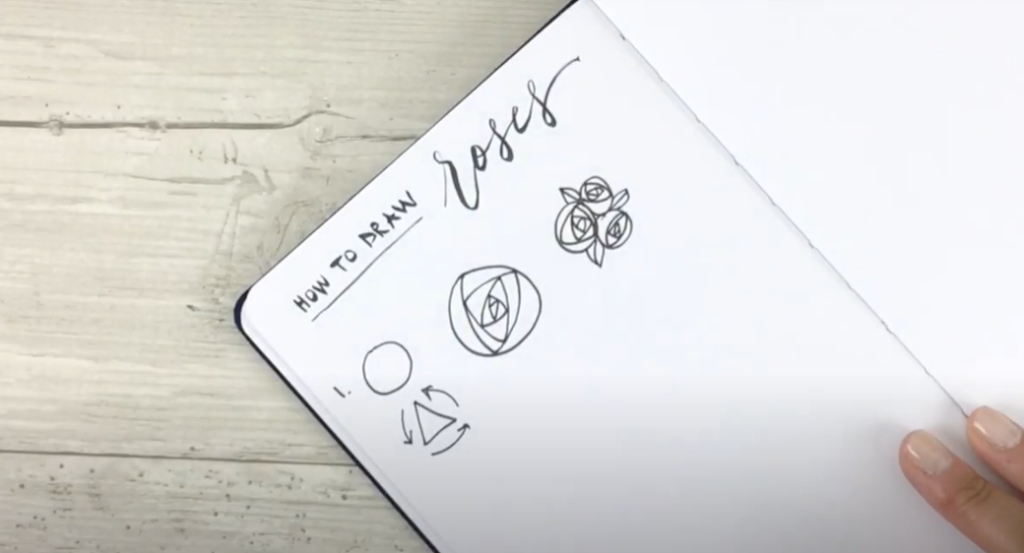
For the first method, you’ll really only need two elements: a circle and a triangle. The triangle will be slightly curved. We’ll start by making a circle, and then curve the triangle into the center. Every time you come in with a triangle line, come about two-thirds down into that last triangle piece. Then just keep going into the center until it gets smaller and smaller!
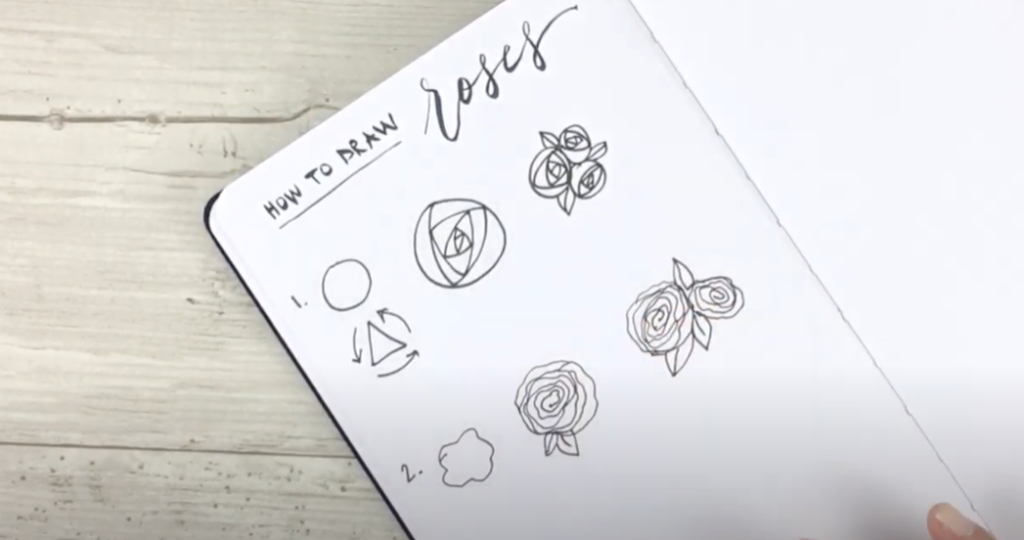
If you want to do a cluster using this method, you would start with your circles and repeat the same technique as before. A nice little trick to turn the direction of your rose is to make your first line about halfway into the circle, so the center will end up looking a bit tilted, and it will look like the rose is pointing downwards. This is a fun one to experiment with different angles and see if you can switch up your composition. Then I just add a couple of tiny leaves to complete the first cluster!
Method #2:
Moving on to the second method, you’ll essentially just creating a wiggly line in a circular shape. That’s all it takes! So starting from the center, you’re going to move outward in a spiral and just make some wavy lines. The larger you go, the larger the rose is going to be, so go as far as you’d like. Then add a couple of leaves to finish!
Then for the cluster, you’ll do the same thing, just start your spiral in different directions if you want to change up your composition. Once again, I’m adding a few simple leaves to the cluster, just to pull it all together!
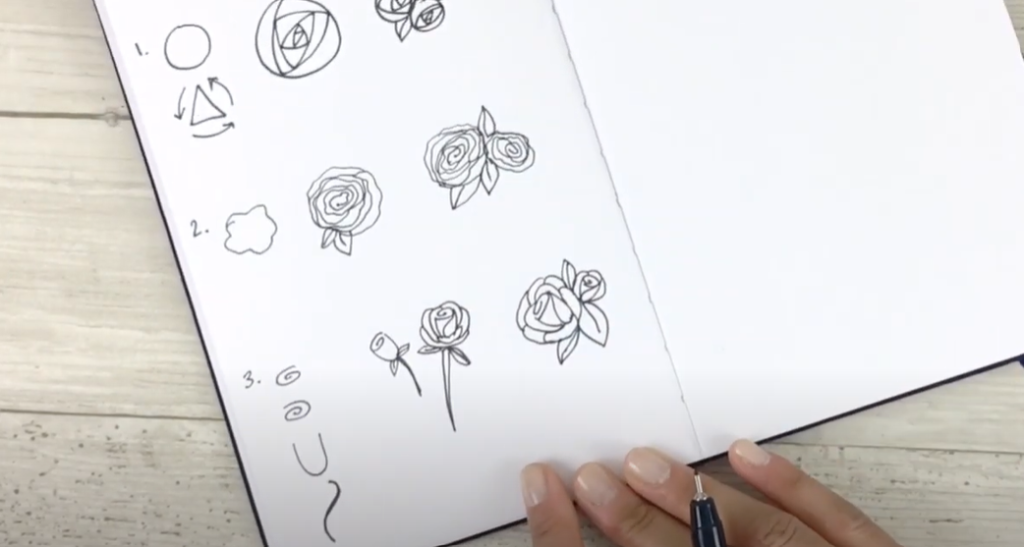
Method #3:
For the third method, there are a couple more elements, but they’re just as easy! You’ll start with a swirl in any direction you’d like, and a basic “U” shape. The first rose I’m drawing is a rosebud, with a swirl and the “U” shape right underneath it, to make a simple rosebud with a stem.
Next I’m doing the same thing and build on it to make a slightly more open rose. The only difference is it has a little “S” curve right across the front. You can go any direction you want, just choose to the right or to the left, and it’s going to look like your petals are starting to open.

Then you’ll build on that by adding a few more petals as it’s opening. Again, you can go as far as you’d like with the petals. Add a few leaves and a stem to finish the rose!

Now we’re going to put these two into a cluster form. I am starting with that bud shape in the center, and then build up my petals that are opening. The bottom petals are going to be a little bit rounder and flatter, and the top ones are going to be more narrow. The second rosebud I’m going to put in a slightly different direction with that first swirl, and a little bit smaller so it’s less open. Add a few leaves and there’s your cluster!
Using Roses in Illustrations
A fun way to incorporate roses into your illustrations or bullet journal is to put them into borders or corners. Let me show you how I do it!
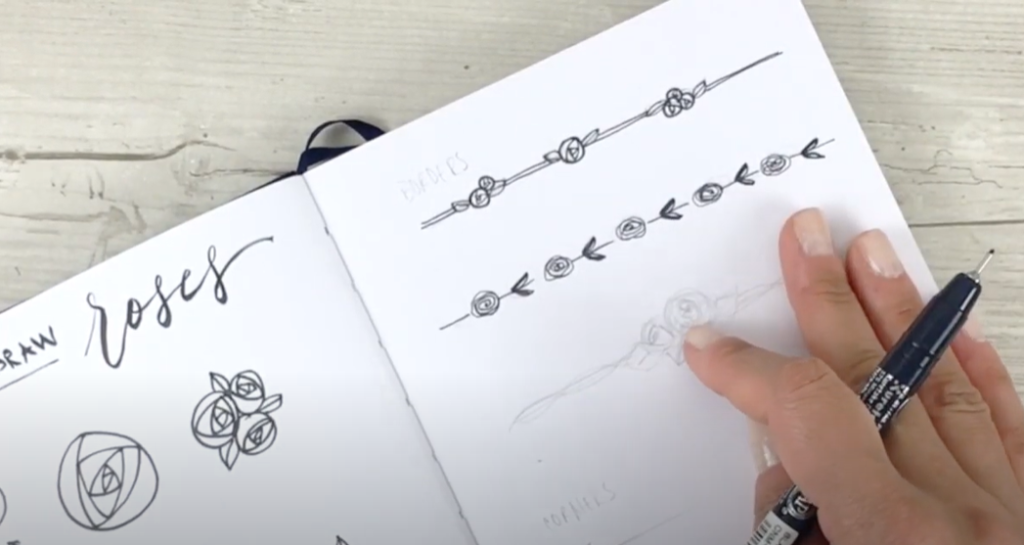
Borders
The first border uses the first technique, and I’m making little clusters along a line. There’s two roses in the first cluster, one in the middle, and three on the right hand cluster. I added small leaves to each cluster, and a simple double line going right through to pull that together.
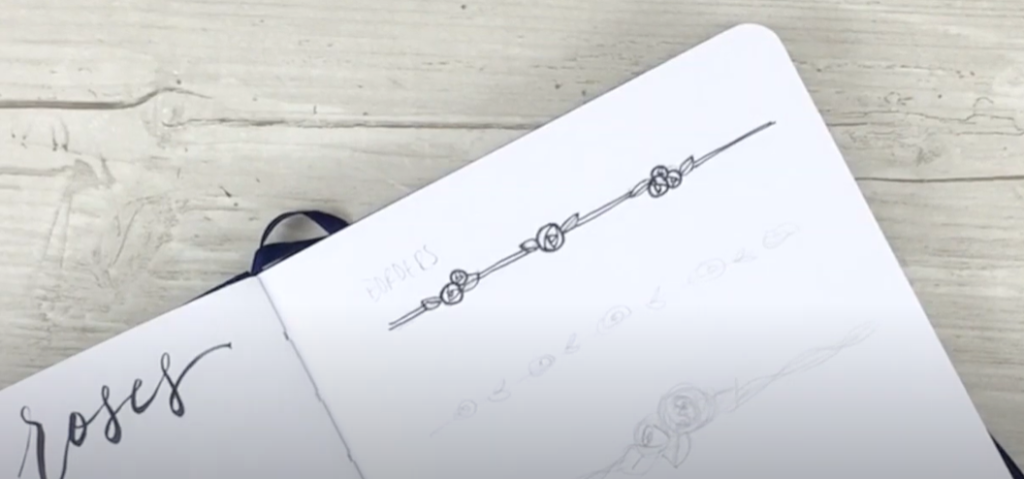
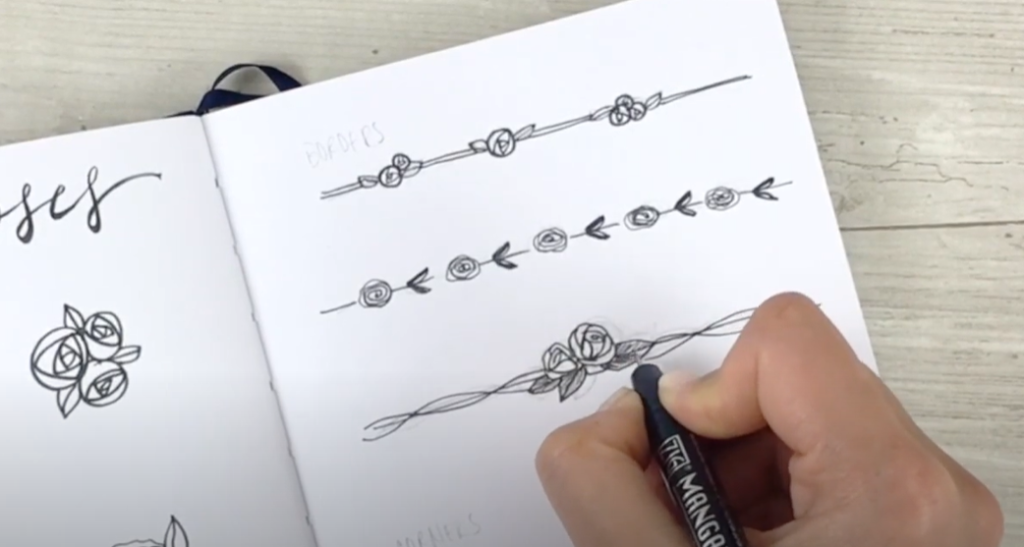
Sometimes it’s fun to play around with your compositions, even on a border. When you do something evenly spaced, it’s got more of a pattern and repetition feel. This second border is going to be a little more more even in rhythm. I’m putting in the roses evenly spaced, using the second technique. The border will have leaves that are also evenly spaced.
You can also do something completely the opposite, where you have one focal point in the center. Using the third method, I am doing a few roses with the border line coming off the center. Instead of adding more leaves and flowers on the borderline, I’m just putting some vines. I did this by adding some wavy lines, just to keep it simple and elegant. You can also go back in with a thinner pen tip to add in some details. Here I’m coloring in the leaves with some texture lines. This adds some contrast between the roses and the leaves. Feel free to leave it as is, or add in any textures that you like!
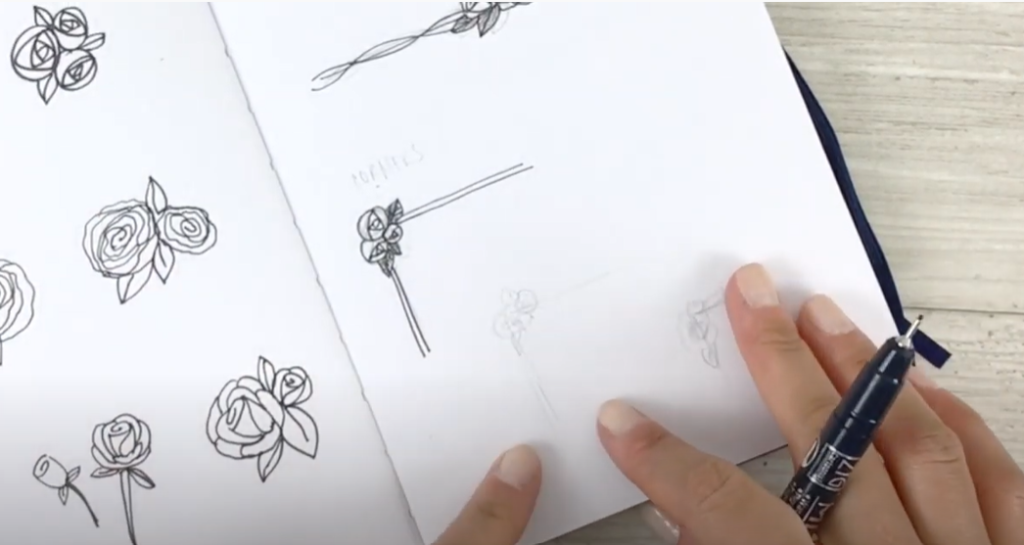
Corners
Another fun way to use these roses is in frames. If you wanted to add a little graphic element in the corner of a frame, you could easily do that with each of these three techniques. For the first one I made a little cluster with a double line as the frame. Once again I am coloring in the leaves with some texture lines to add contrast.
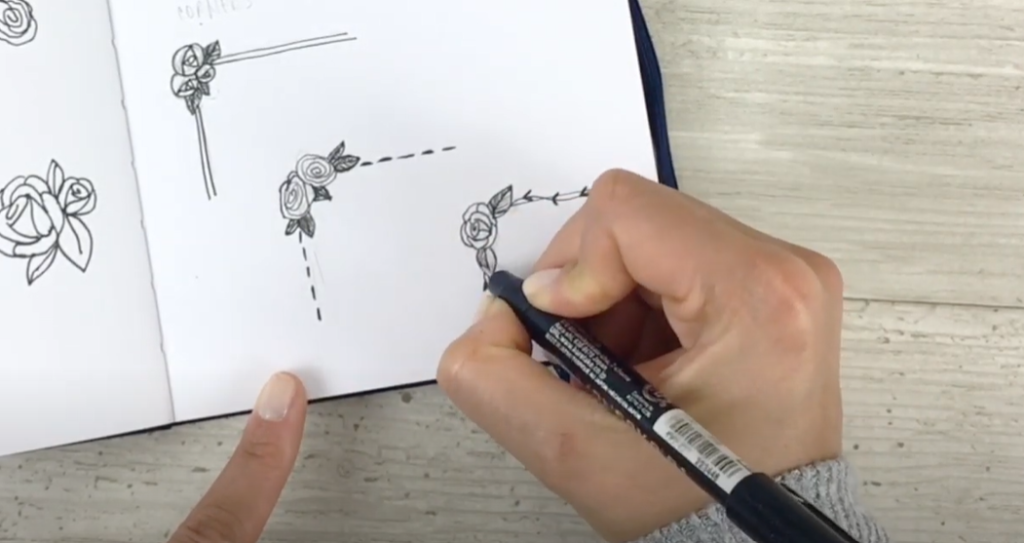
For the second corner frame, I’m putting in two roses using the second technique. This time I’m doing a dashed line for the frame. This would be a good element to use if you wanted to mimic fabric, or show more of a “hand-crafted” texture.
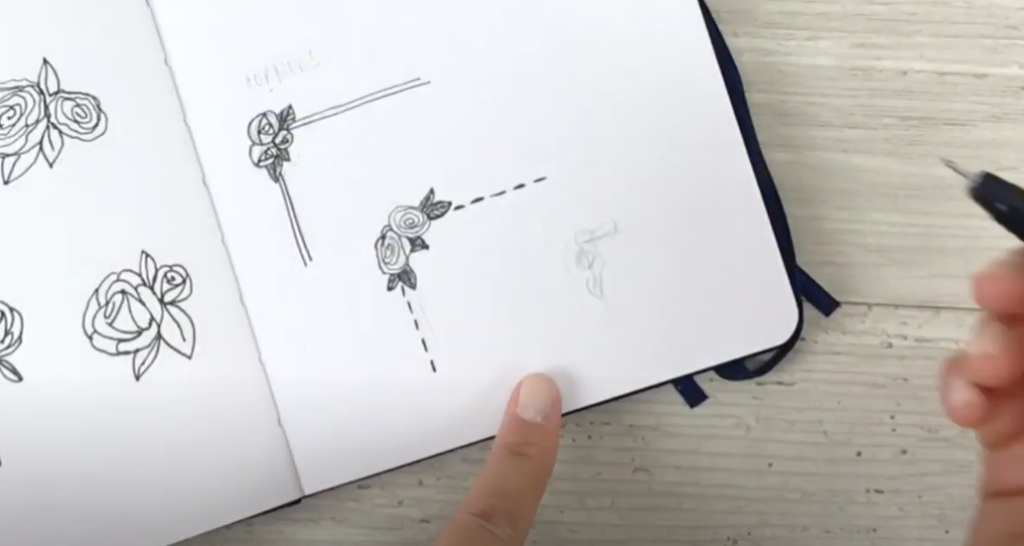
For the third option, I’m just going to do a single rose using the third technique. I am adding two leaves and a simple vine detail on the frame, as well as some tiny vine leaves. All of these elements could be really good for mixing and matching designs. You can always come up with some really unique just be changing one or two elements.
I hope you found this helpful & gave you some ideas on how to incorporate these elements into your designs. If you recreate any of these, please tag me on Facebook or Instagram; I’d love to see them!


How to Draw Roses- Simple and Minimal
VIEW THE COMMENTS