
Today we are painting roses in a loose watercolor style! This is a very simple & easy tutorial that is great practice if you’re just starting to work with watercolor.
In this tutorial we will practice:
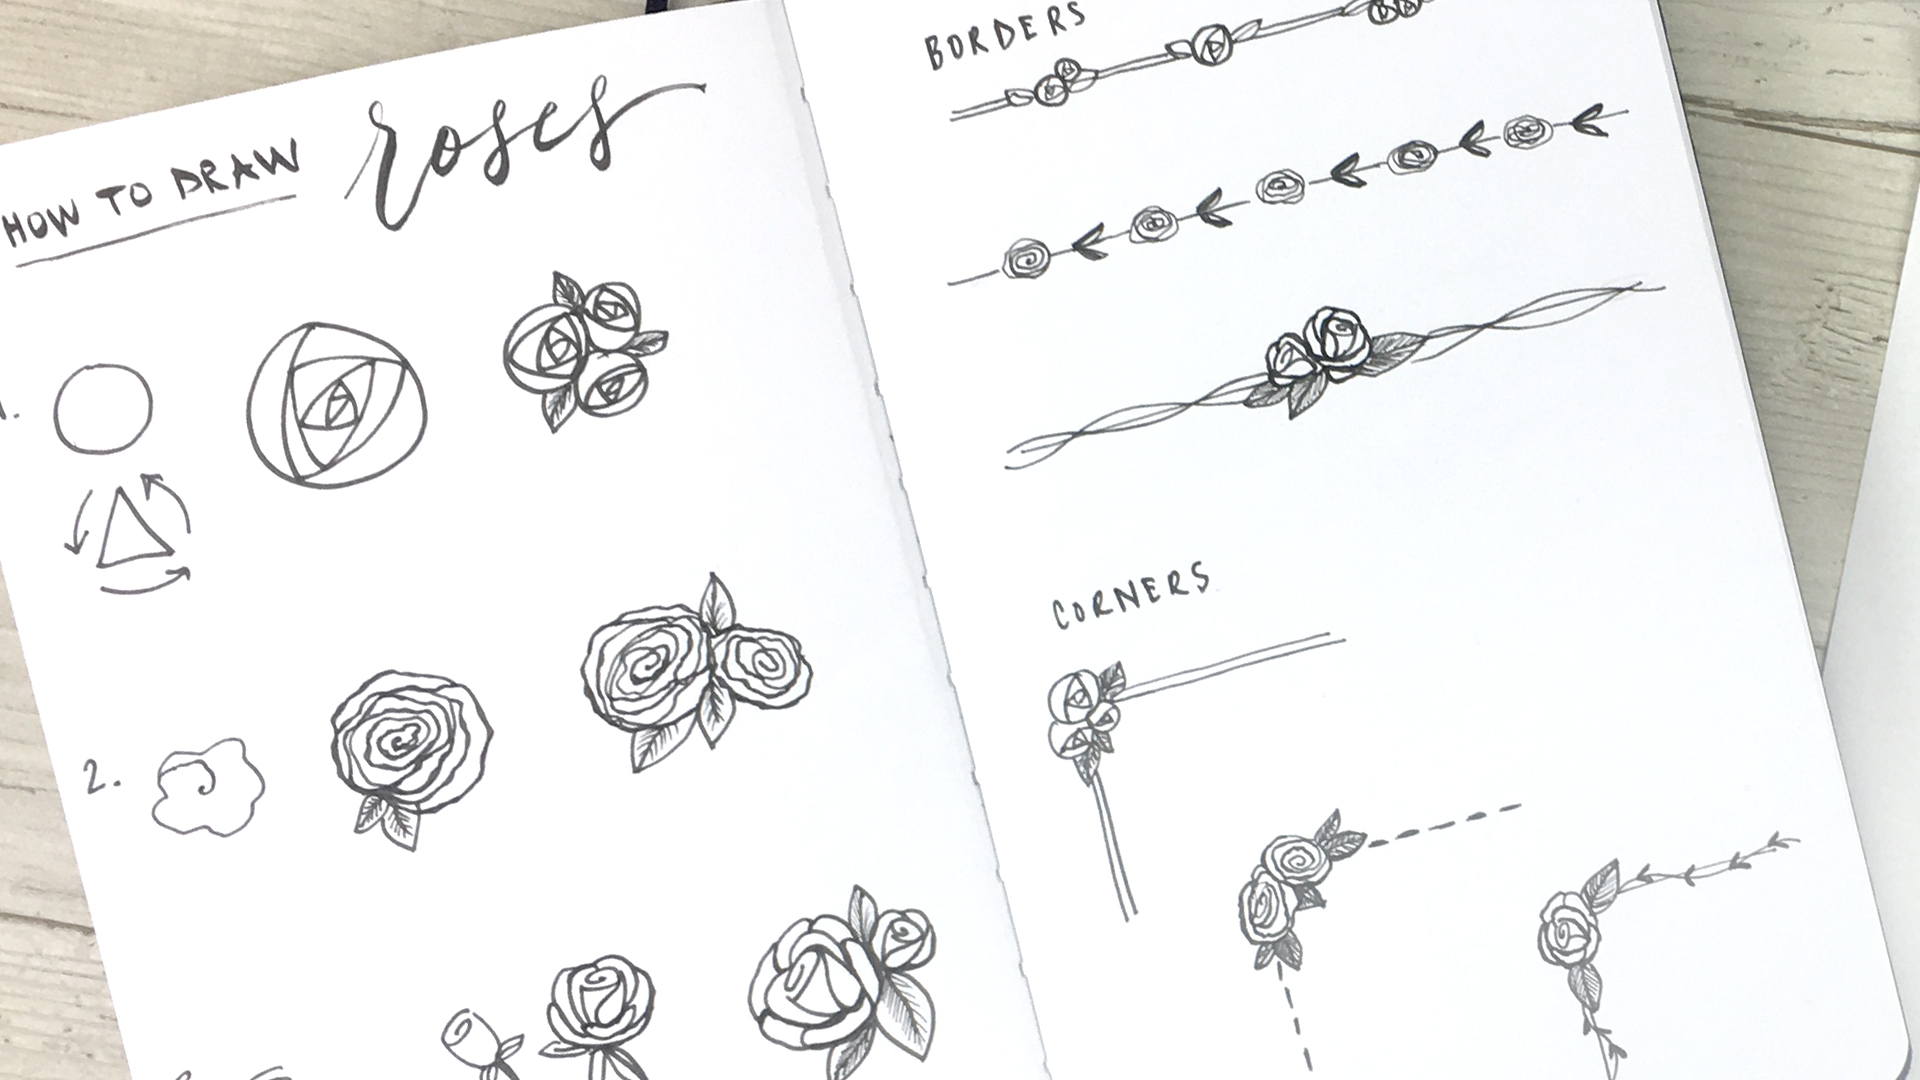
- using a “C” stroke to build our roses
- a wet-on-wet bleeding technique
- layering watercolor to add details
Once you’ve mastered the techniques covered in this video, I encourage you to practice & play with it in your larger compositions; try different colors, floral arrangements, and sizes. As always don’t forget to play & enjoy the process of creating!
For this tutorial, you’ll need:
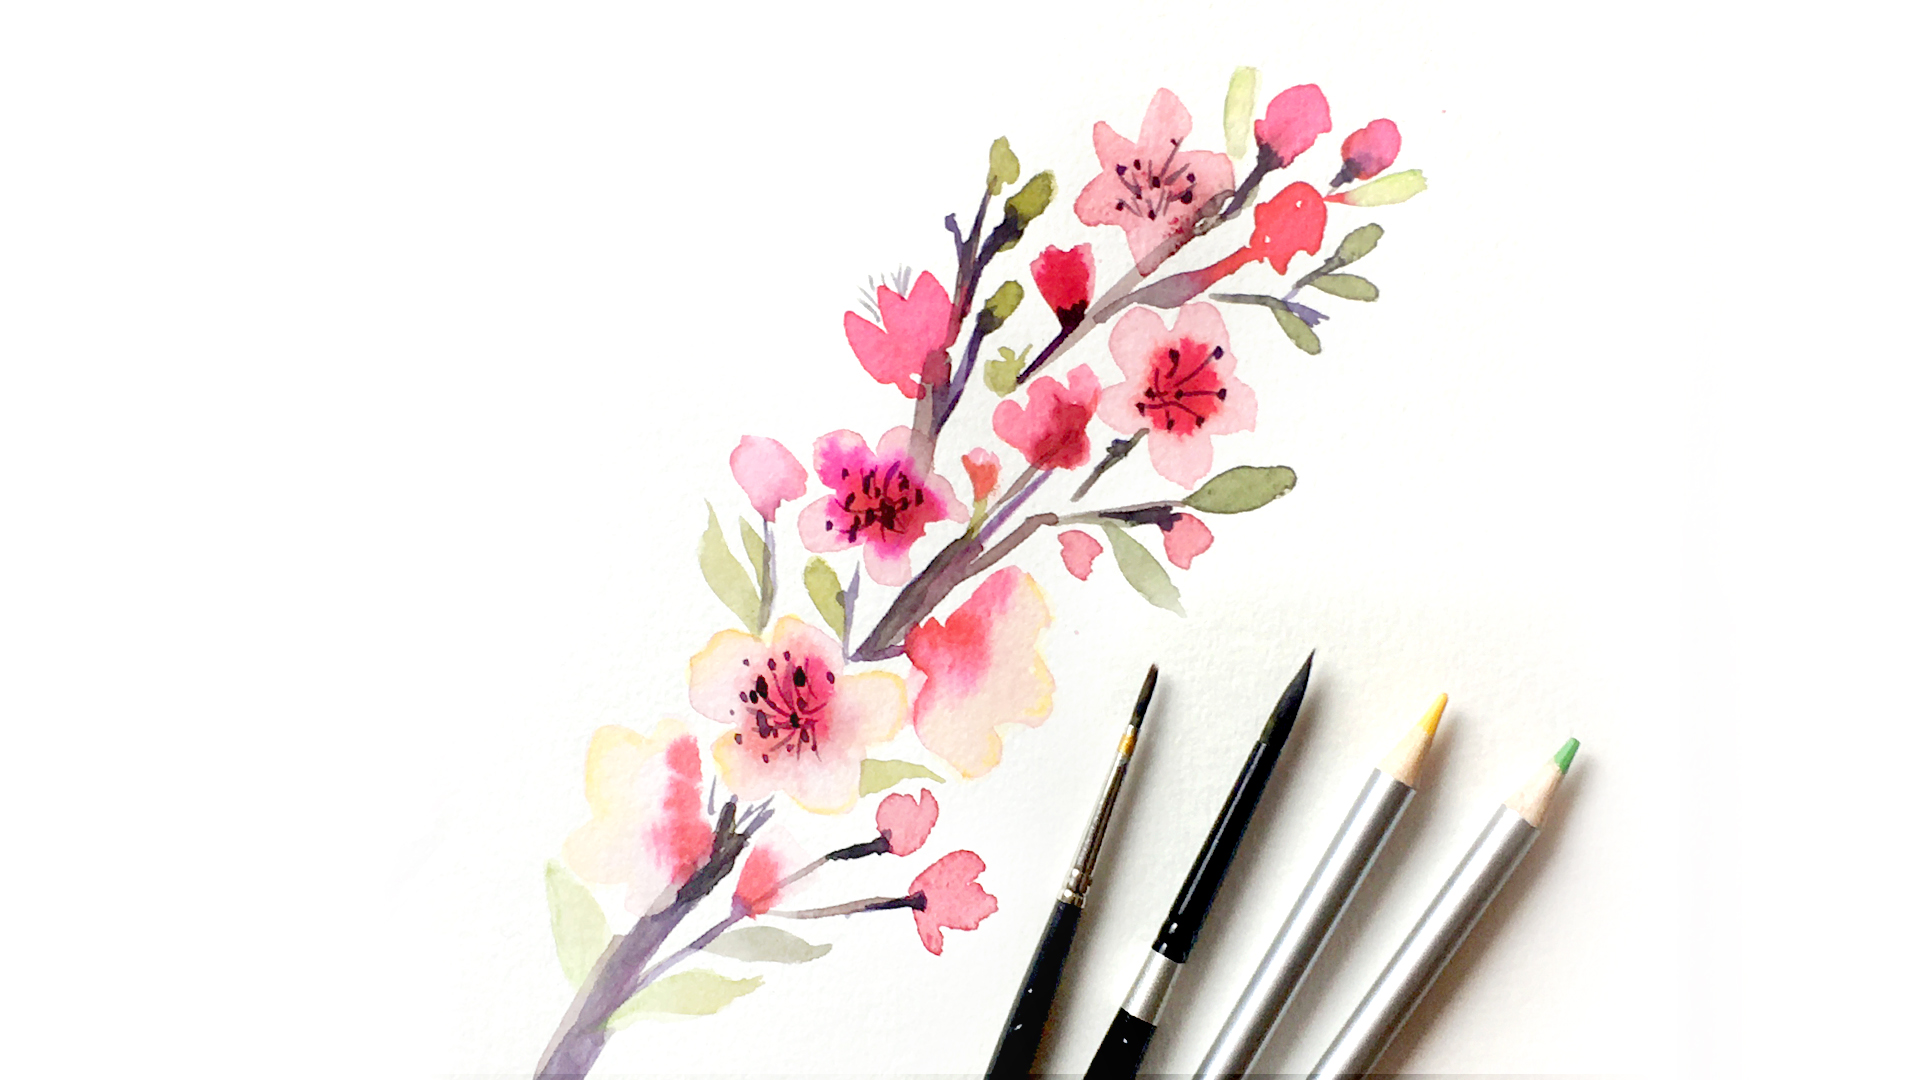
- pointed round brush (medium and large)
- watercolor paper
- watercolor paints
Techniques and Demonstration
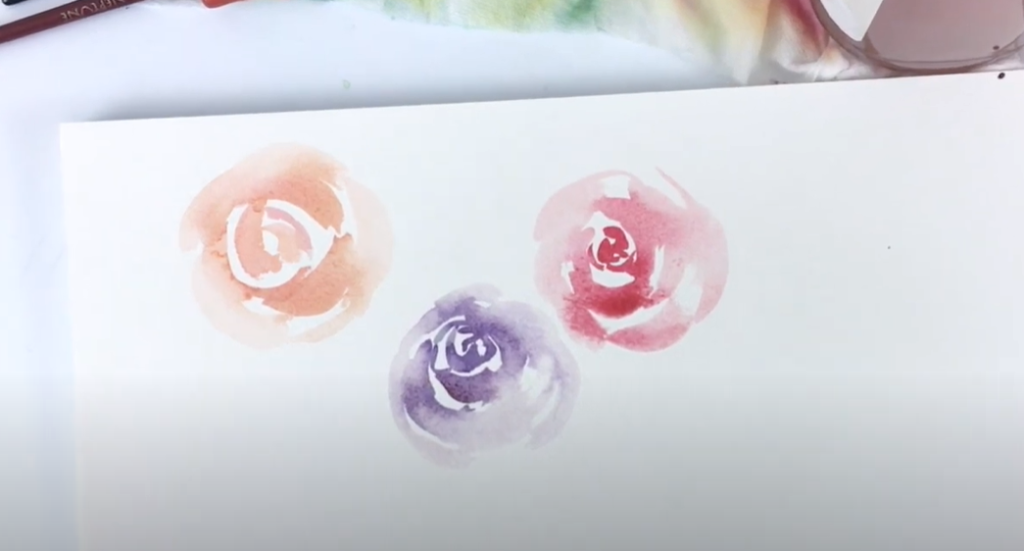
First I am using my large brush to create a c-stroke. Using this stroke, I am making several c-strokes in different directions, moving outwards. You want the center to be tighter and smaller c’s, and as you move outwards create softer, lighter, and larger c’s. Do this by adding water to your brush as you move outwards to dilute your paint. The one’s on the outside are going to be almost clear water, which is difficult to pick up on camera, but don’t worry! We’ll do another rose to help you get the hang of it.
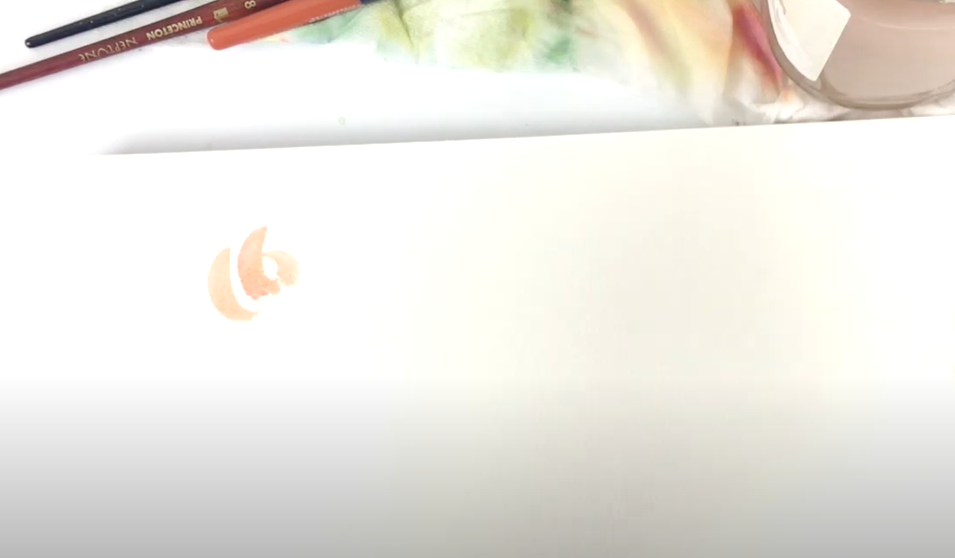
Inner c-strokes 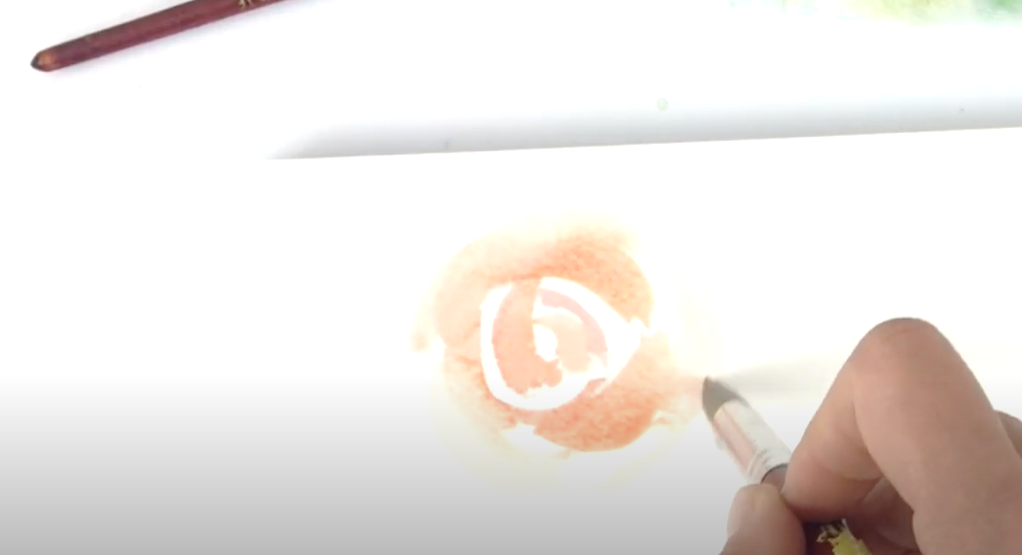
Outer c-strokes
While I am building these, I am intentionally leaving some clean, white space where the paper shows through. This gives the illusion of space between the petals and some highlights in your flower.
Inner c-strokes 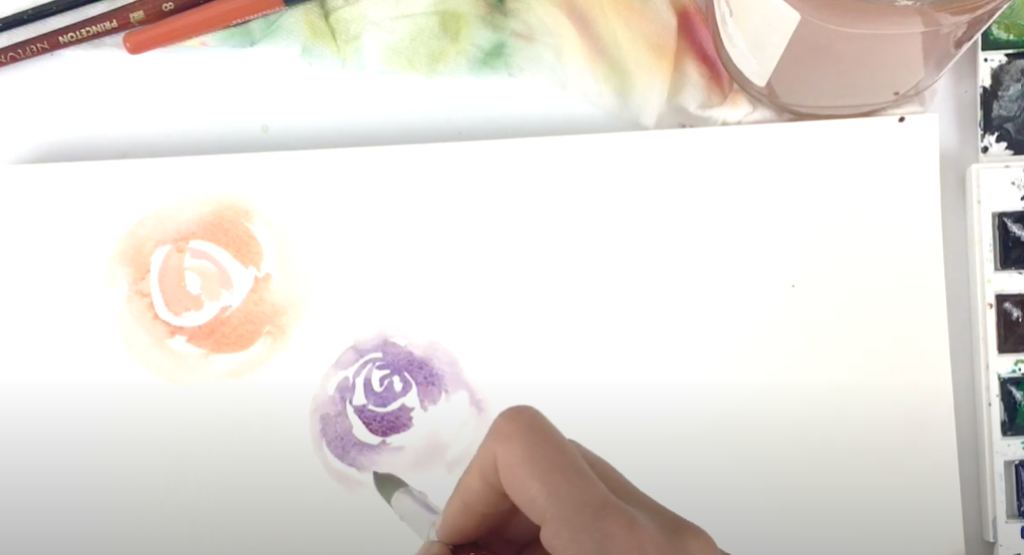
Outer c-strokes
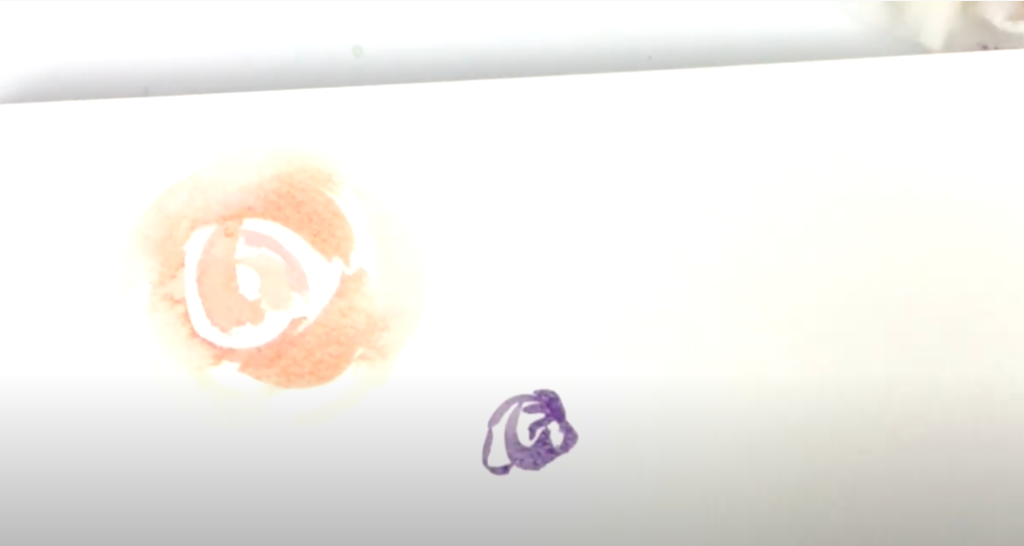
For this next rose, I wanted to show you a wet on wet bleeding technique to practice. To do this I am touching the inner petals just slightly as I move outwards, so some paint color bleeds into the more transparent petals. As it dries the color will spread out from the center. These techniques will all be done on your first layer. Now that we’ve practiced a bit, let’s move into a composition!
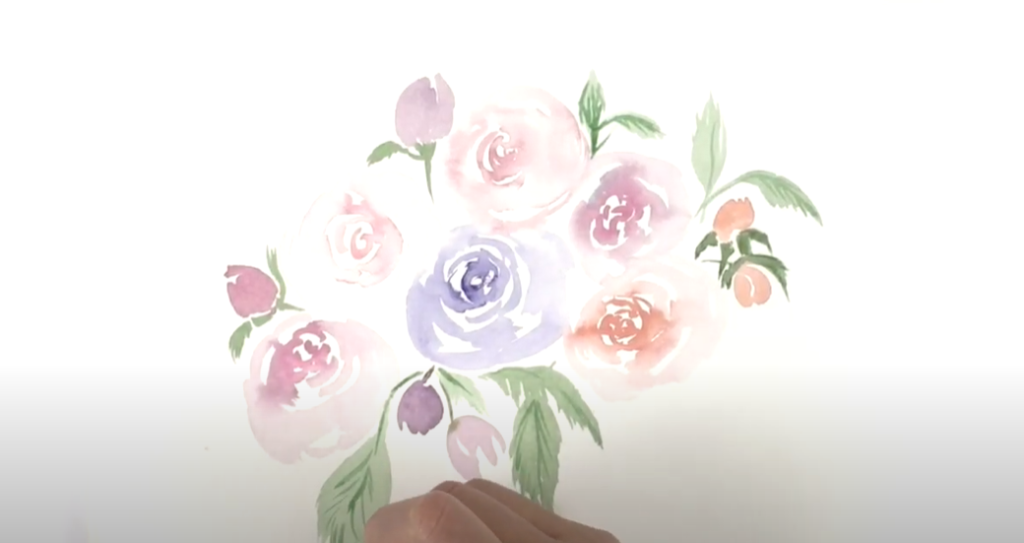
Creating a Composition
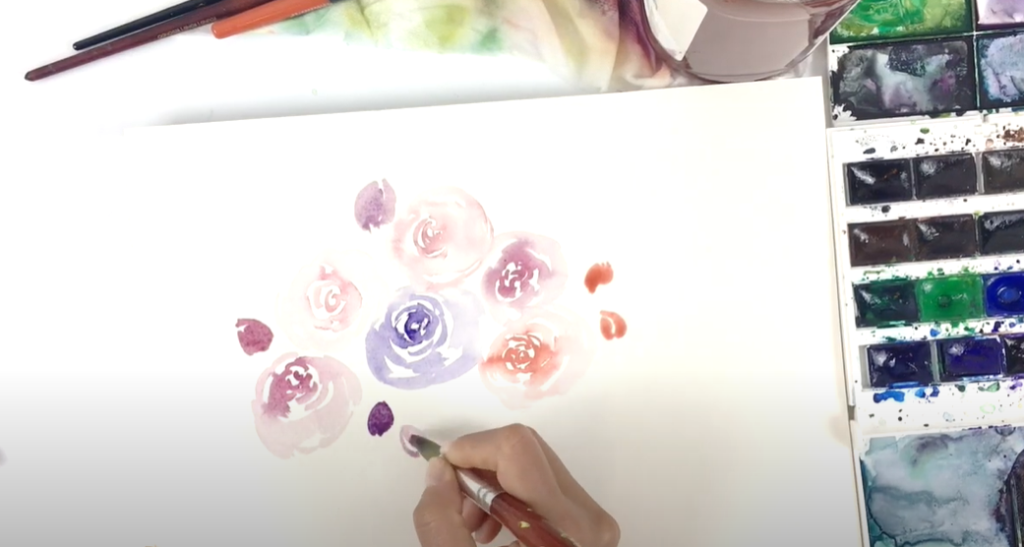
Using the same techniques we practiced, we are using the end of the brush to create inner petals, making them larger and more transparent as we move outwards. I am adding a few roses in different colors, but feel free to make this your own! Sometimes it’s easier to start by putting in the centers, rinse your brush, and then add those clear/translucent petals all at one time. This only works if you work quickly so your paint is still wet. It is a lot harder to pull out those translucent petals once the centers are already dry.

Next we’re going to add some visual contrast to our composition by painting a few smaller buds! This is done by making two small c-strokes so they make more of a rough oval shape.
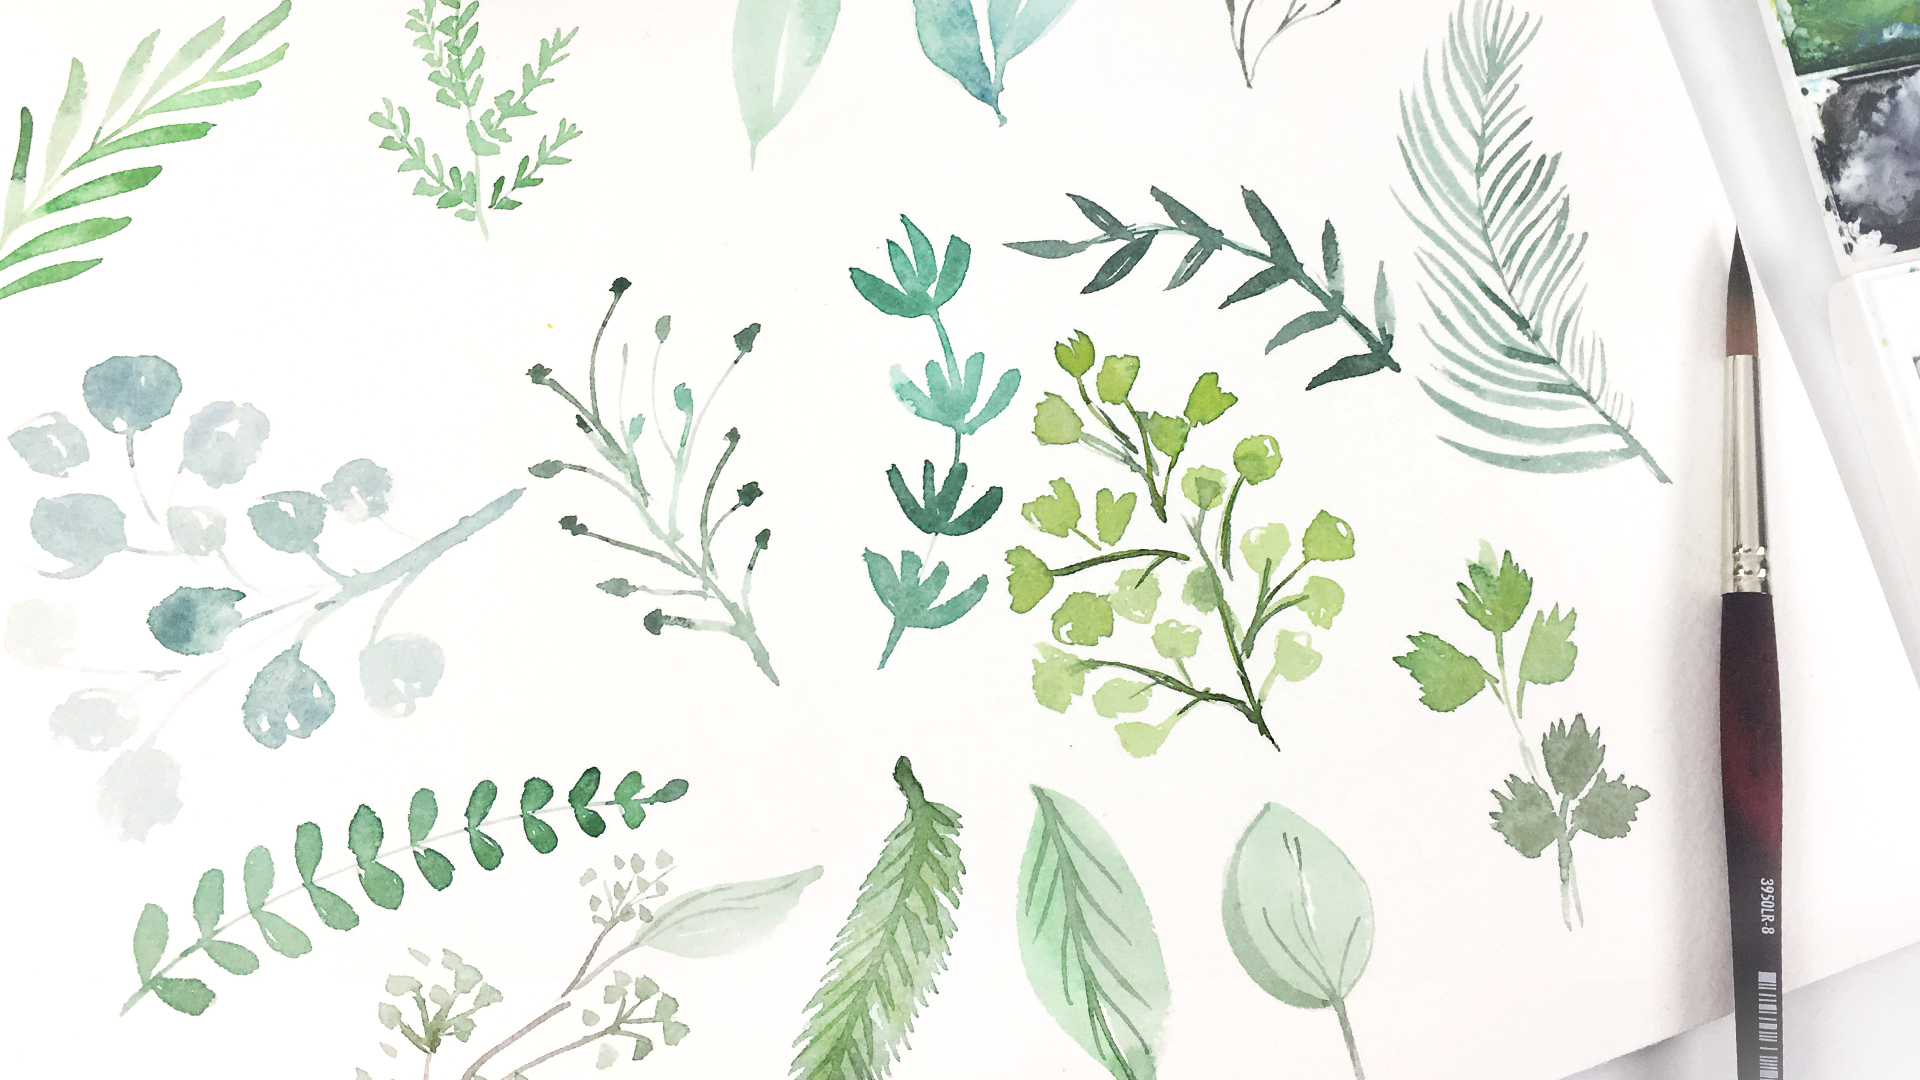
While this first layer dries let’s add some greenery! To do this I switched my brush to my medium brush to get those fine lines. I am starting by adding a stem and leaves to all of the rose buds. Rose leaves are somewhat jagged towards the edges, so you can put that in as well. I did this by using the point of the brush to feather out a couple of those edges. Also right near the buds I am putting in a triangle shape to show where the growth has started, and then pulling down the stem from there.
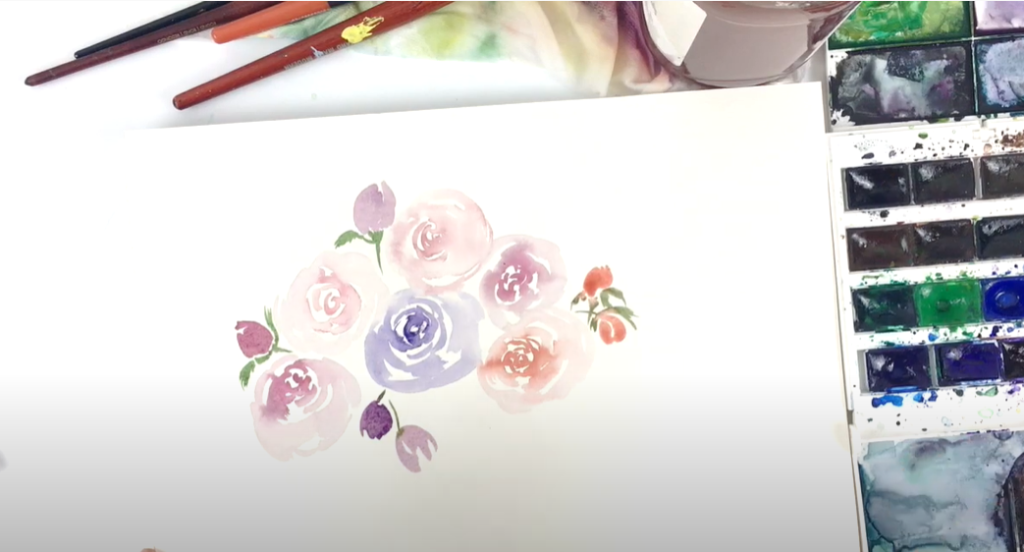
For the larger roses I will be making bigger leaves, also with jagged edges.
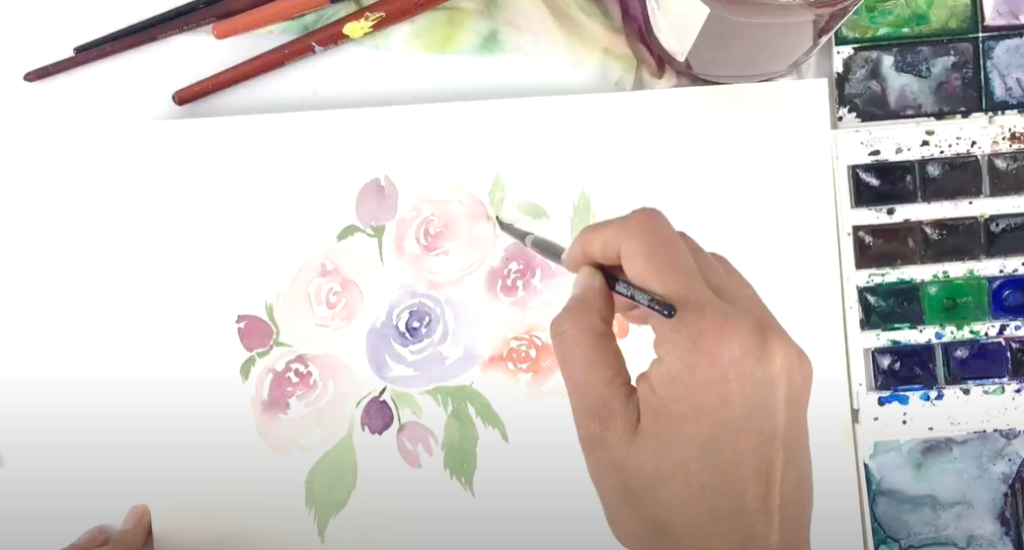
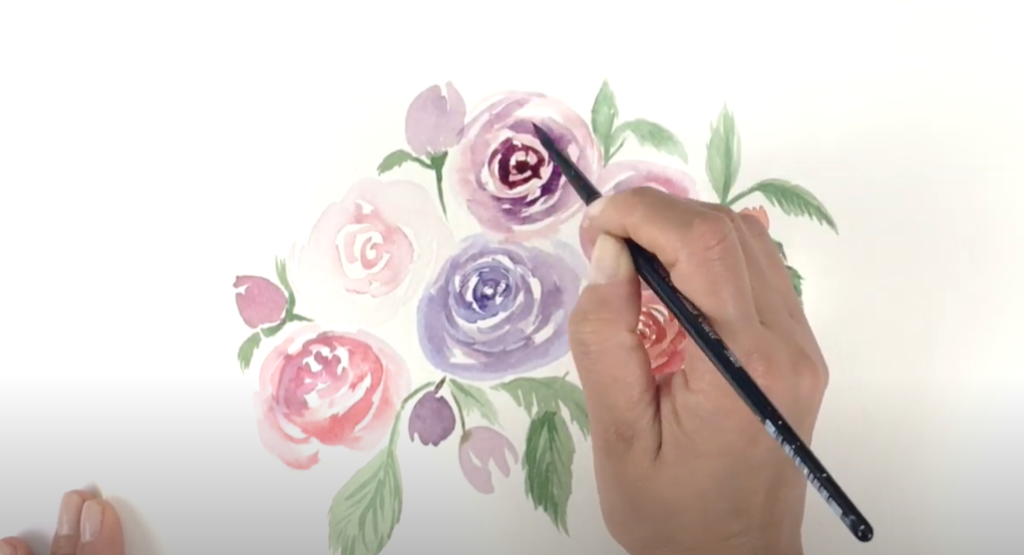
Now that our first layer is dried, we can go back in to add some extra details. I’m going to darken up some of the leaf lines with a vein and a few extra texture lines.
Even on the roses you can go back in to darken up some of the centers and define those petals a bit more. However because this is a loose style of painting, I don’t want to do too much. This is done using the exact same technique as before, just building up the saturation. As you move outward, don’t forget to keep diluting your color and rinsing your brush! This will get you a clean transparent petal look on the outside.
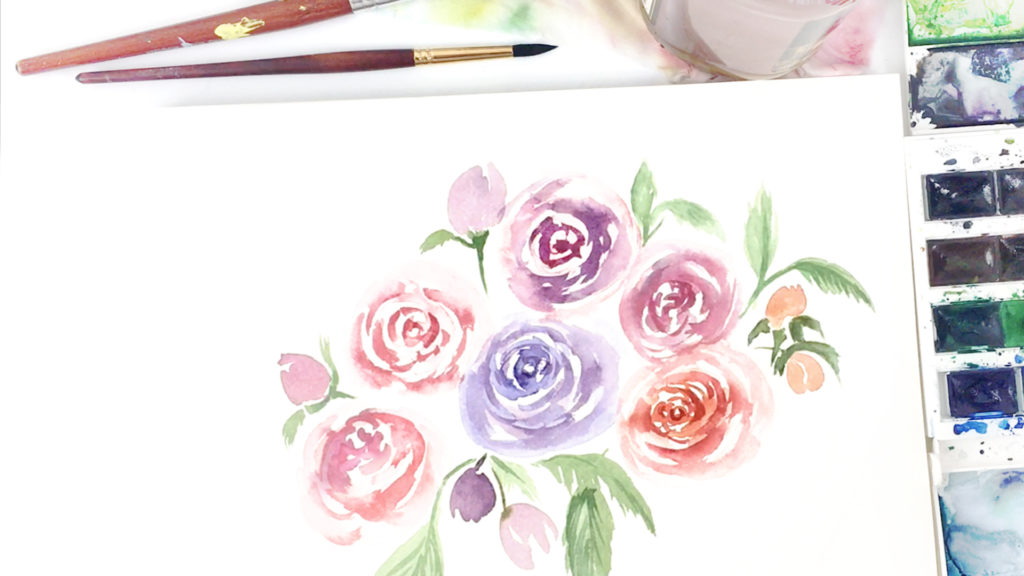
I hope you had fun painting along with me! If you recreate this, please tag me on Instagram and/or Facebook so I can see your work.
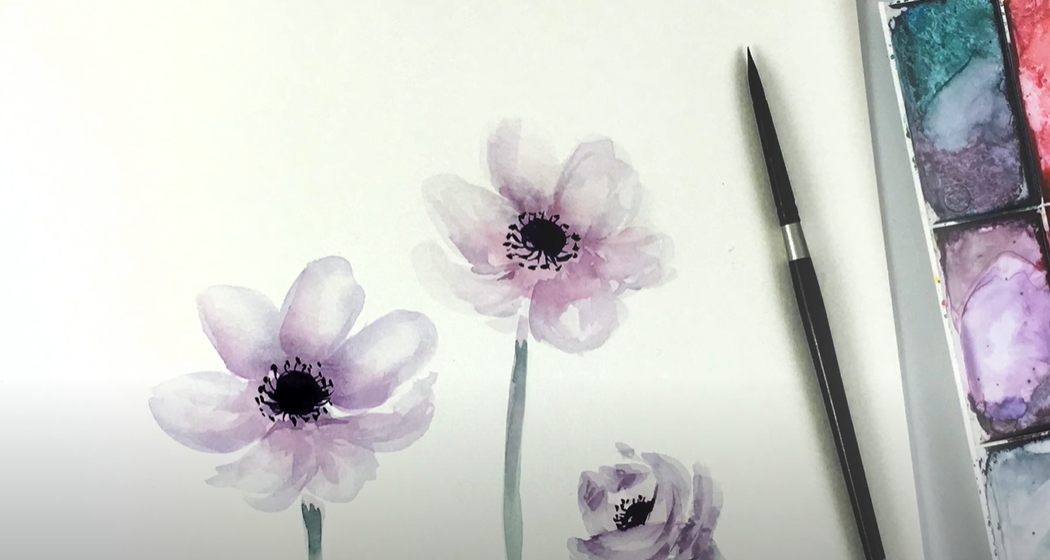
Want even more watercolor tutorials?
Join my FREE Watercolor Florals Challenge! In this challenge, you’ll receive new tutorials for each season, and get access to our private Facebook community group. There you can connect with other creatives, ask questions, and get feedback on your work!


Easy Watercolor Rose Tutorial
VIEW THE COMMENTS