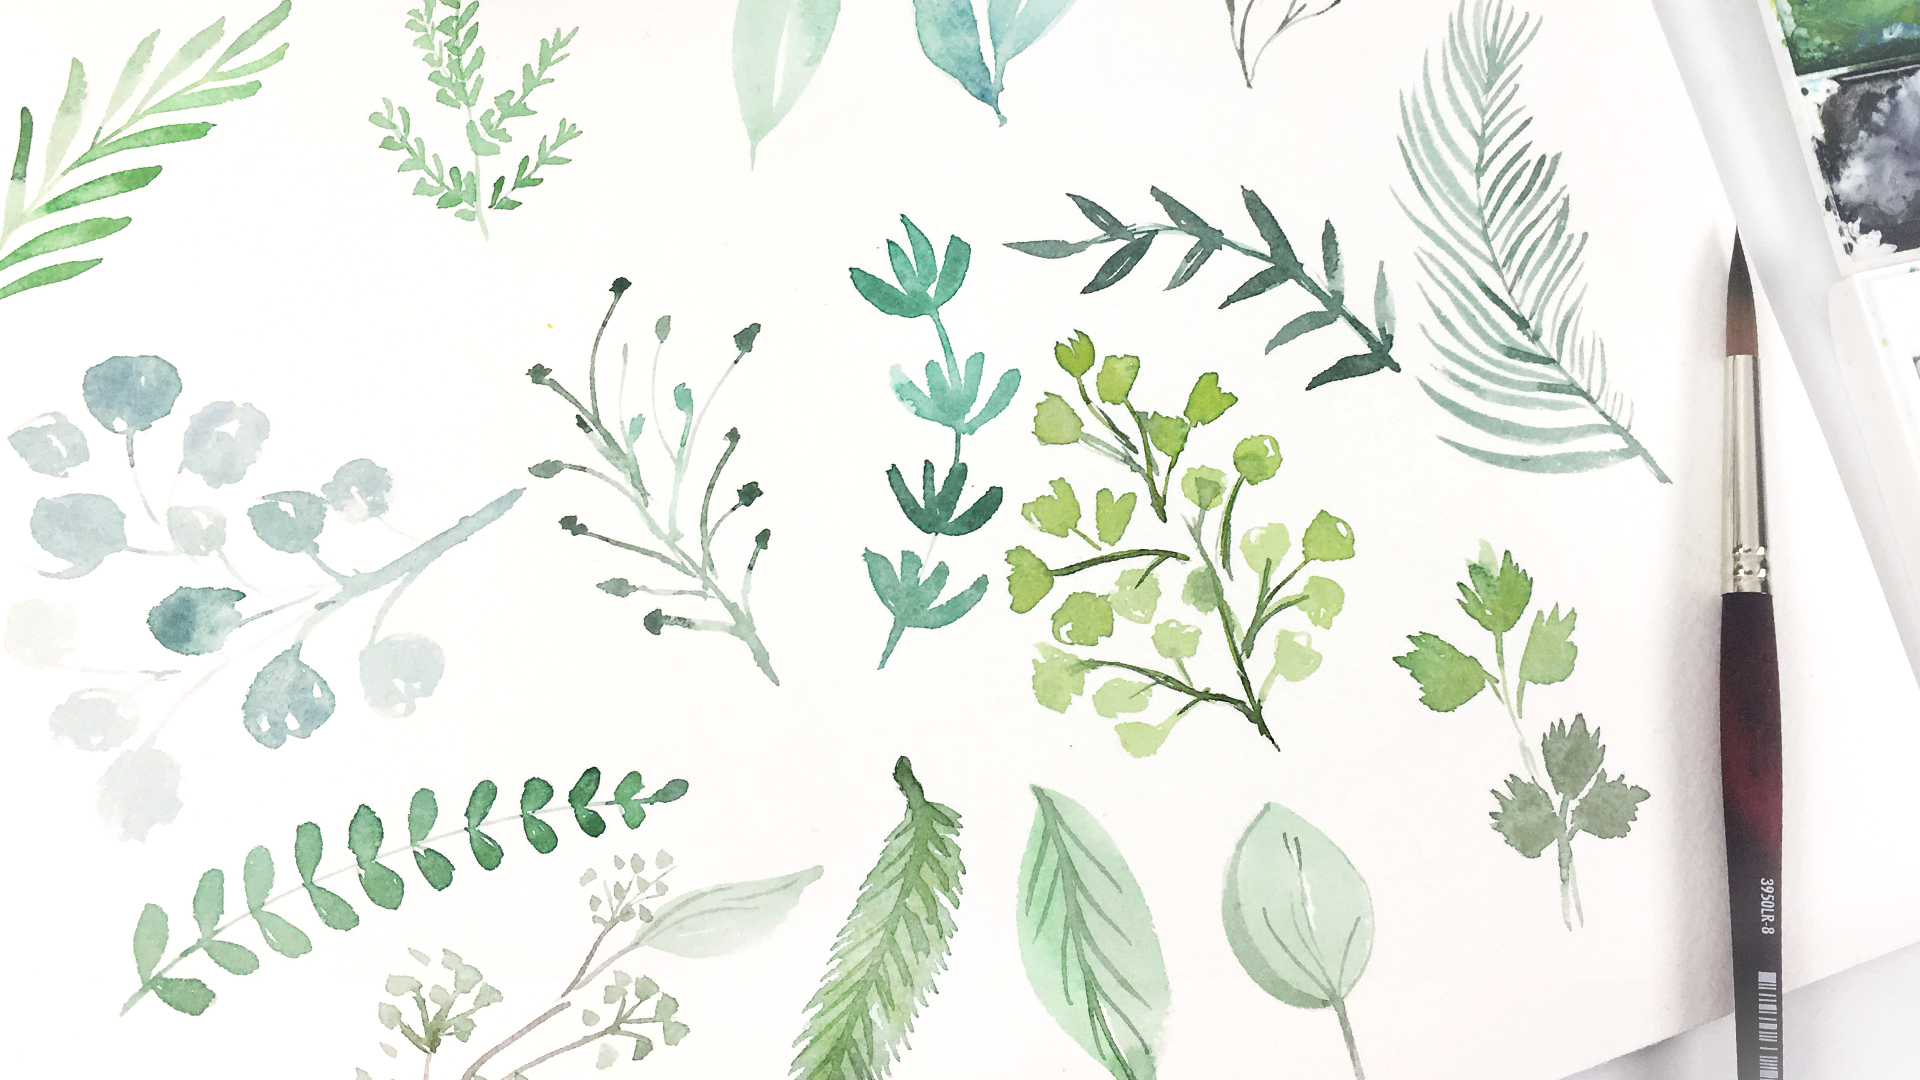
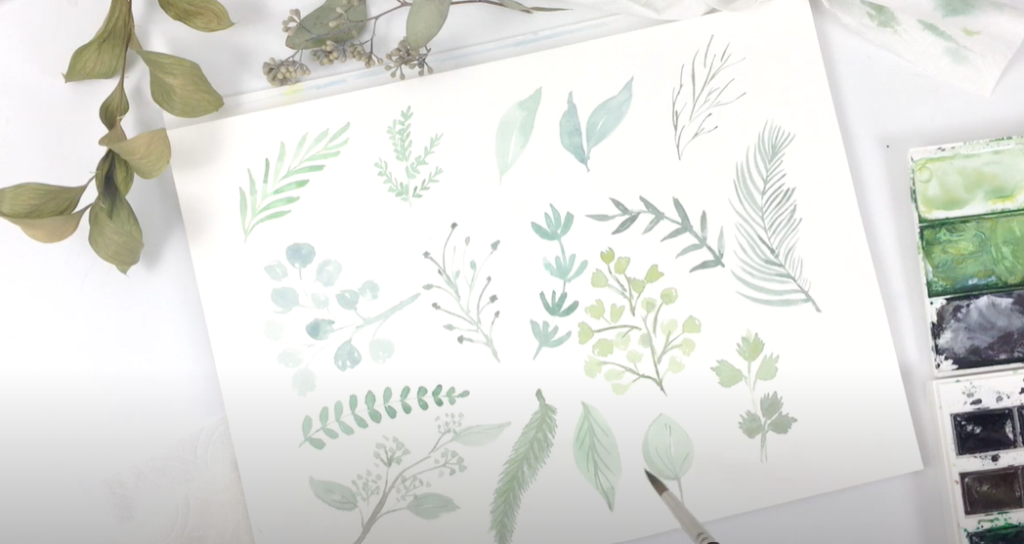
Today we are testing out a new paintbrush! I am going to show you how to paint greenery 14 different ways using one brush!
In this tutorial we will practice:
- painting both fine lines & wider strokes
- various styles of greenery elements
- adding details using wet on wet techniques
First I will give you an overview of the new brush I will be using for this exercise, then I will walk you through how I created 14 different kinds of greenery using the same brush!
For this tutorial, you’ll need:
- pointed round brush
- watercolor paper
- watercolor paint
- water jar
- paper towels
Brush Review & Comparison
The brush I will be using today is the Princeton Velvet Touch brush in a size 8. I’ve been wanting to try out the Velvet Touch line for a while, and I’ve heard a lot about how it’s got an amazing fine line point.
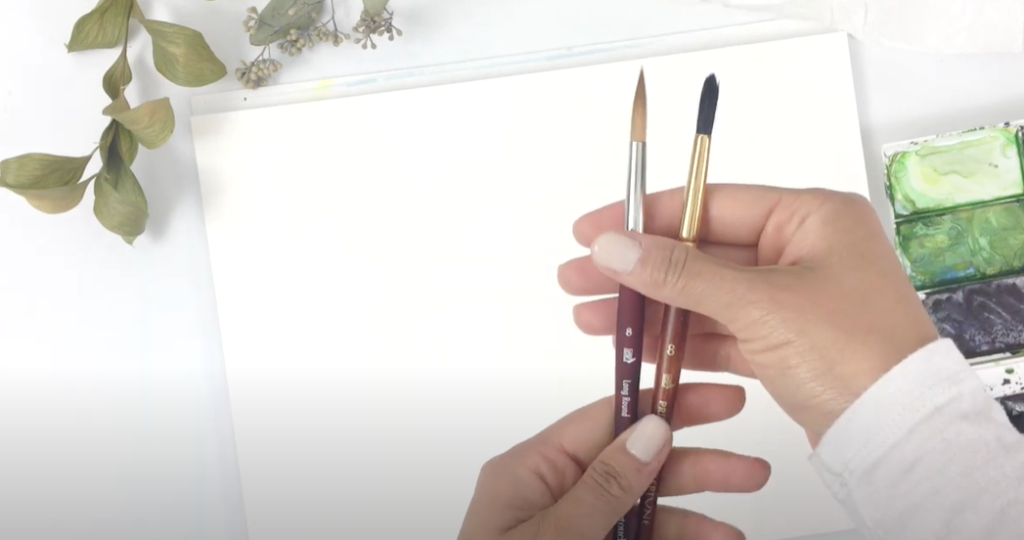
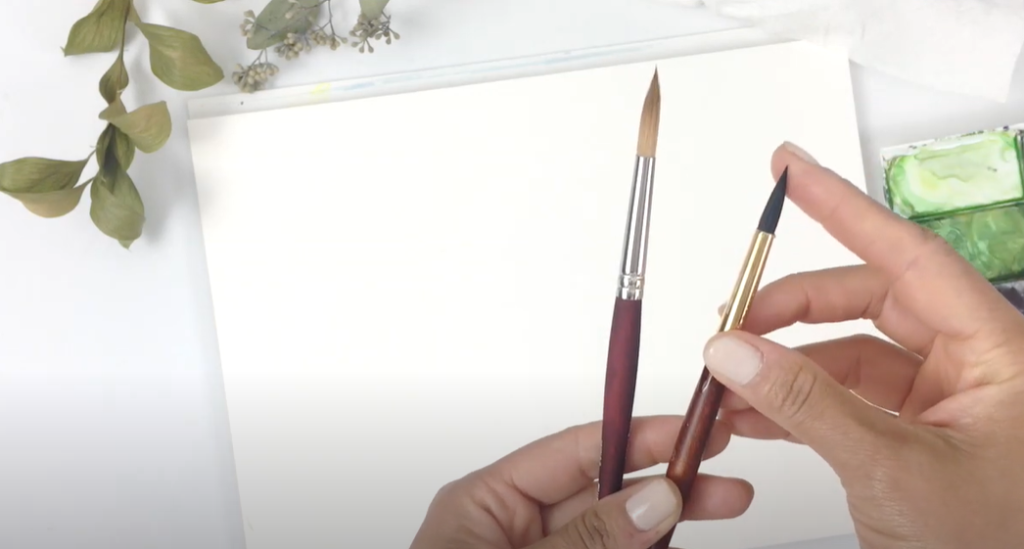
I also have another Princeton brush that I use often from their Neptune Line, which is also a size 8. When comparing the two, you can see that the brand new brush does have a really fine point. The Neptune brush, when dry, does not. However, when wet, it does come to a nice fine point!
Demonstration
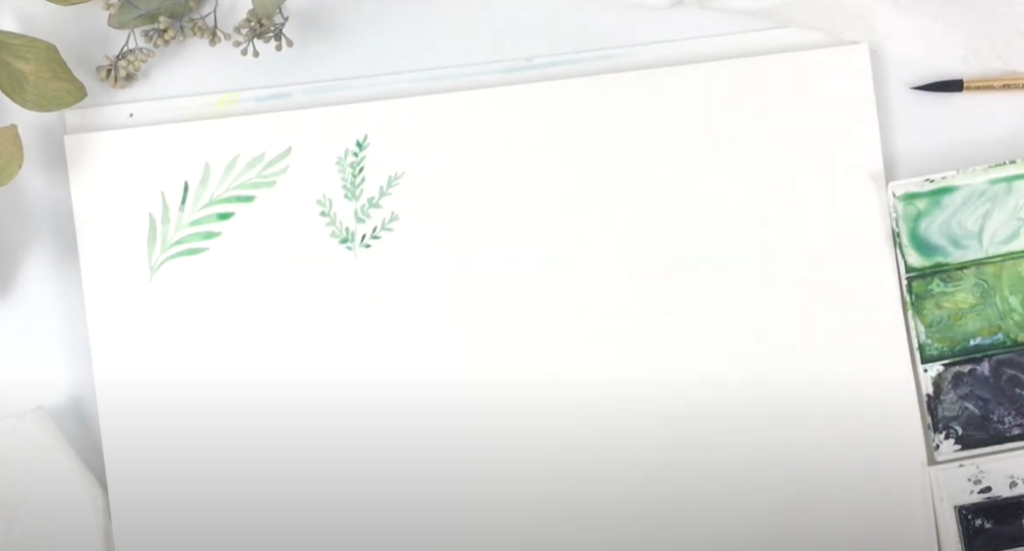
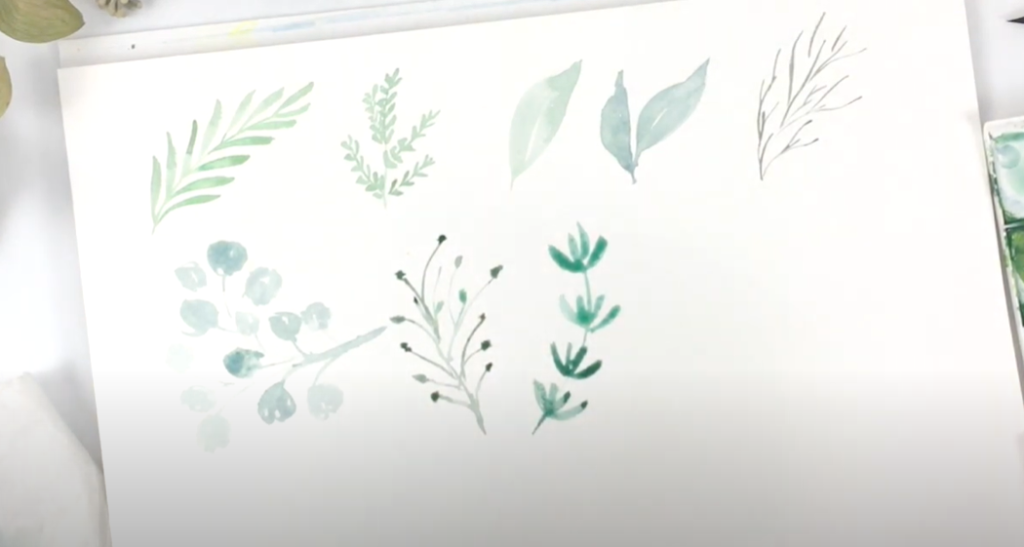
 For this first one, I’m doing a really simple, leafy branch to start. This is done by drawing a thin line, and then making leaves along the branch by adding slight pressure on your brush to create small leaves. Something I immediately noticed about this brush is that it does have an amazing fine line tip at the end. It allows you to create very delicate lines in your paintings!
 For the second version, I’m first making fine lines with space in between for my branches. Then I’m doing some really short, small V-shapes on each of the branches. You can cluster them up together and make it as dense or light as you’d like.
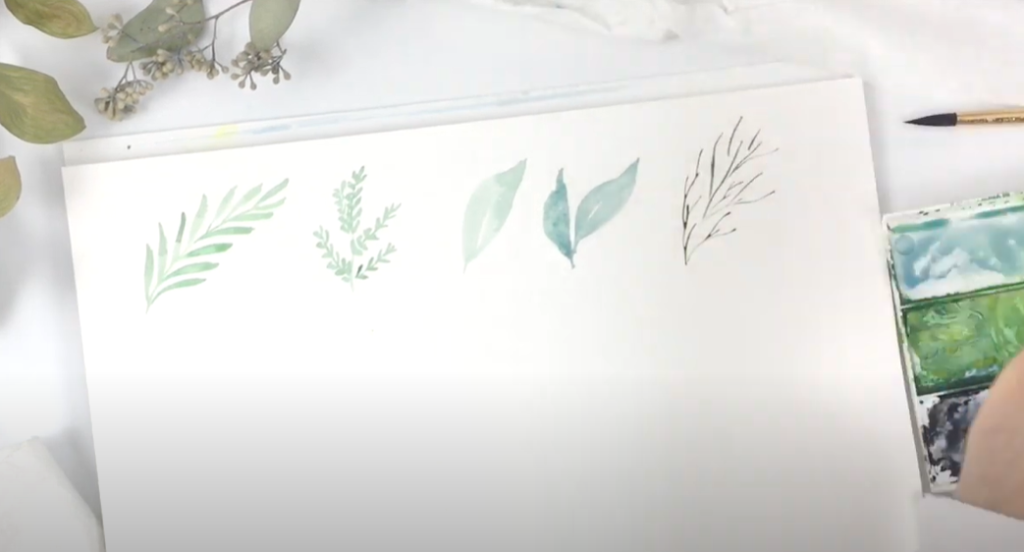
 For the third style I wanted to try a wider leaf. The way I did this was by starting with a tiny thin stroke, and adding wide strokes by pushing down on your brush. The more pressure you push down, the wider the leaf will be. Then towards the end of the leaf you can pick up the brush and leave a really light, delicate point.

 In this fourth version, I’m using the end of the brush to make some really light, delicate branch marks. For this one I also added a bit more brown and purple to my color.
 The fifth style I made a little bit more berry or eucalyptus-like. I made wider, more circular ends with thin lines for my branches.
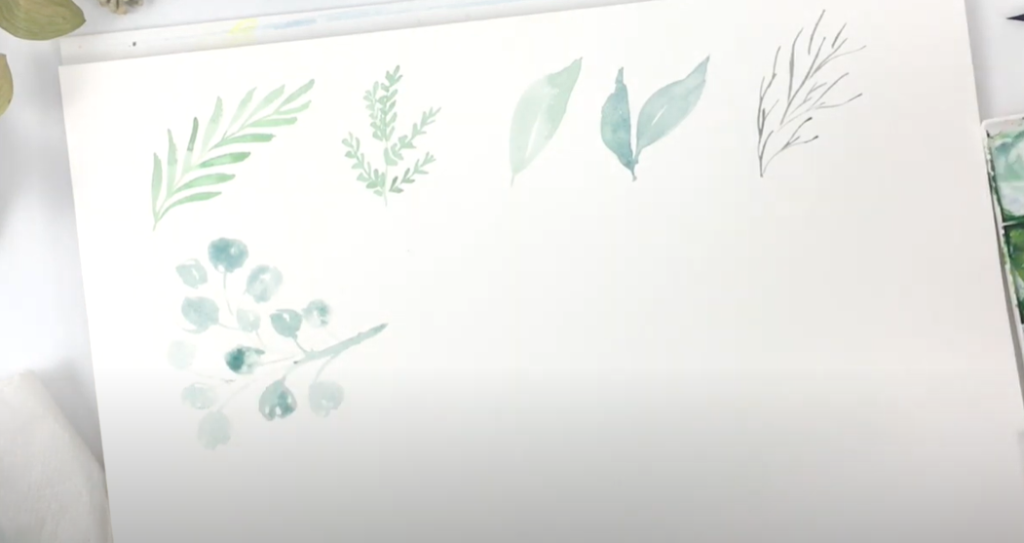
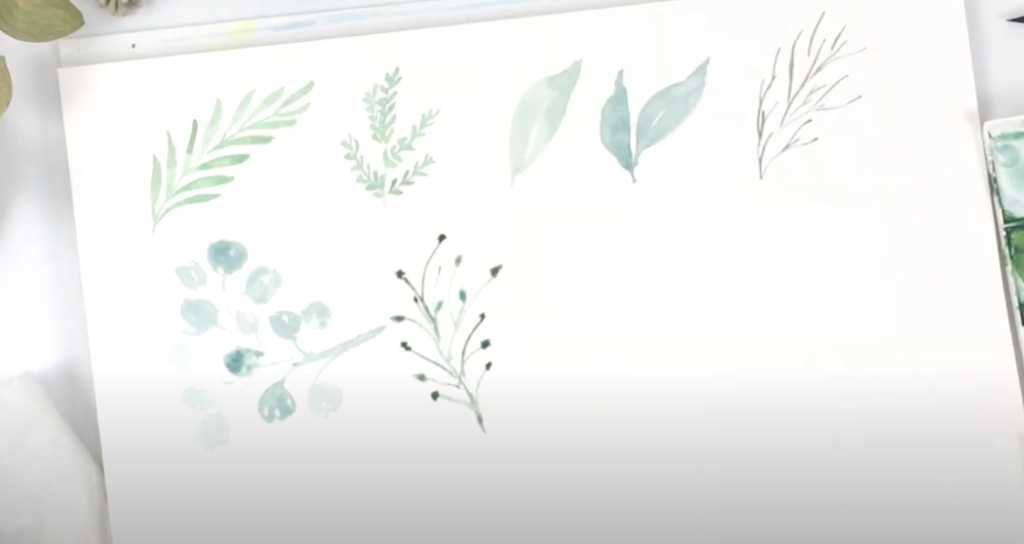
 The sixth style is similar to the previous one we did with the branch, but this time I’m adding these little bulb-like bits on the end.
 This next one is a little bit like rosemary. It’s got little clusters of leaves that go down a single branch. For each cluster I’m doing four leaves, and adding a thin branch down the center.
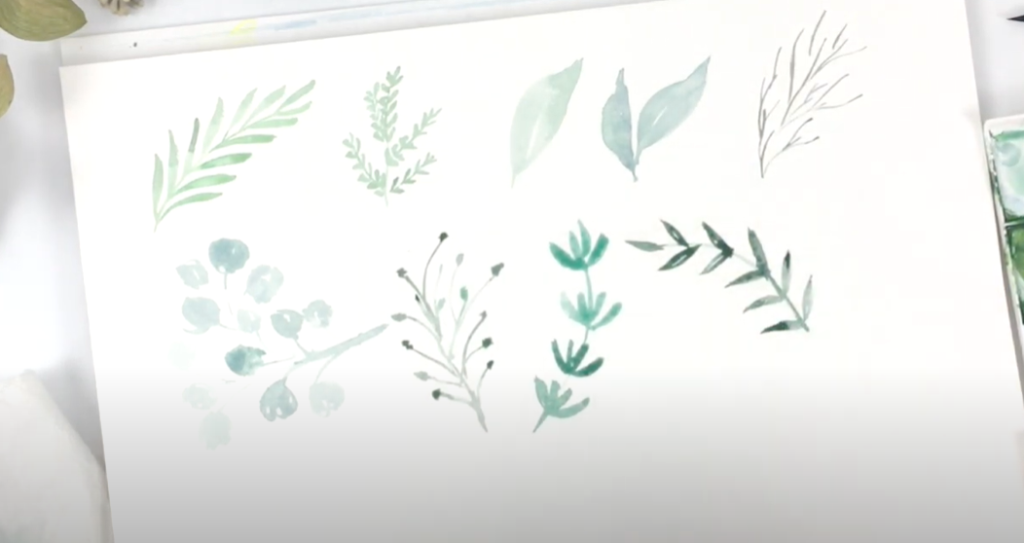
 For our eighth version of greenery, I wanted to see if I could get some really fine, sharp, pointed ends for each of these leaves. I’m just adding two small leaves on either side of a single, curved branch.
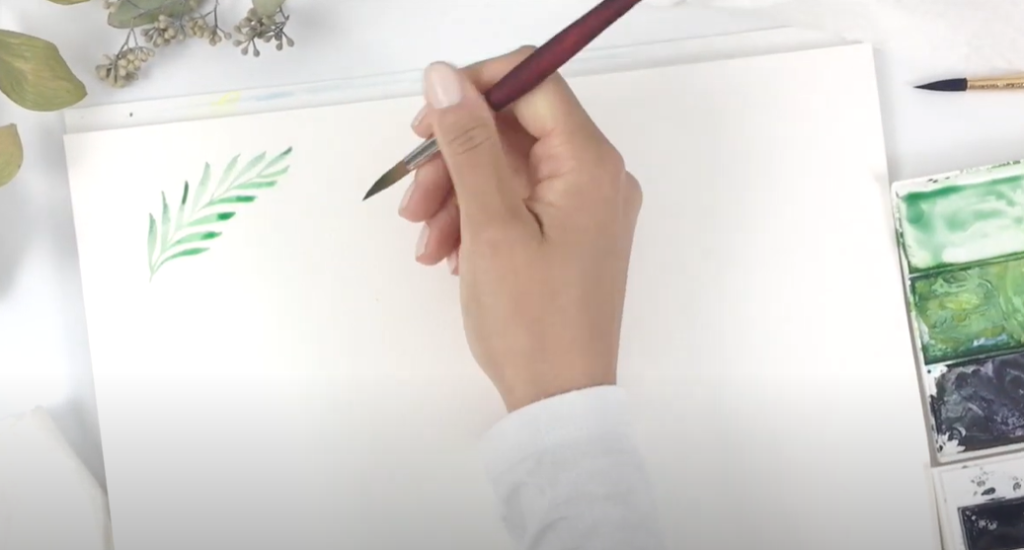
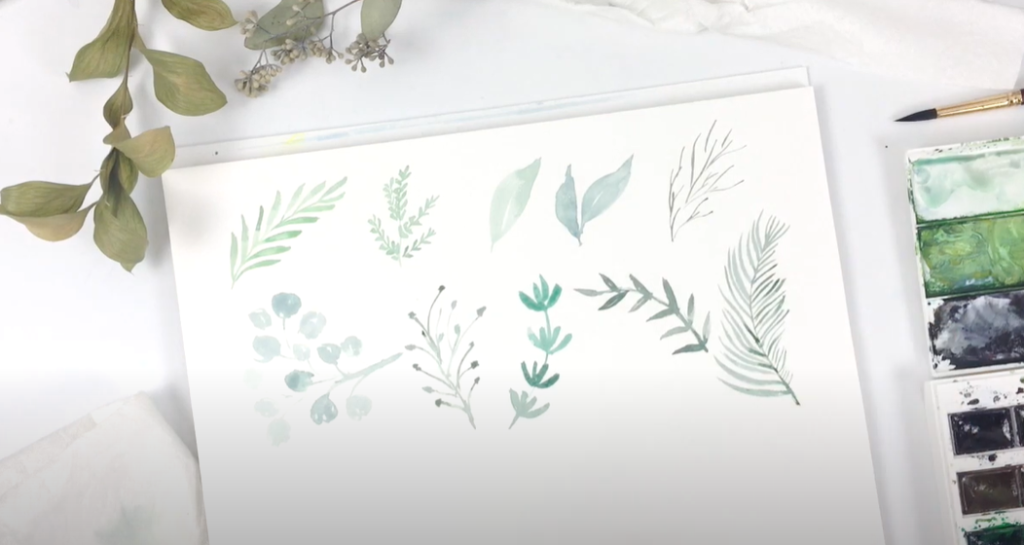
 Our ninth version is a little bit like a palm leaf. I’m using very thin lines at the top, and as I get towards the bottom, the individual leaves get a bit longer. I’m keeping them pretty wavy and thin, coming off that center line.
 For number ten, start with a loose, branch-like structure, leaving some spaces in between. Using a lighter yellow-green color, I’m then adding clusters of leaves to each of the branches. While it’s still damp you can go in and drop some darker green shades. This will give a natural gradient of color in those areas!
 Since the last one was pretty organic, this next one is going to be more symmetrical. I’m using tiny tear drop shapes for each side of these leaves. As you move down the branch, you’ll make these a little bit wider and a little bit bigger. Another thing I’ve noticed with this brush is I haven’t needed to re-dip my color. It holds quite a bit of color and paint. I was able to get this whole branch painted without re-dipping for color. Next I used my paper towel to pick up any extra paint and color. This is a pick up technique where you can use your brush like a sponge; just dip it into your leaves and dab off the excess onto the paper towel.
 For our twelfth style, I am starting with a branch in the middle with thin lines. I added a few wide leaves, and then made smaller branches in some spots, where I added small, berry-like clusters by dotting my brush one the ends.
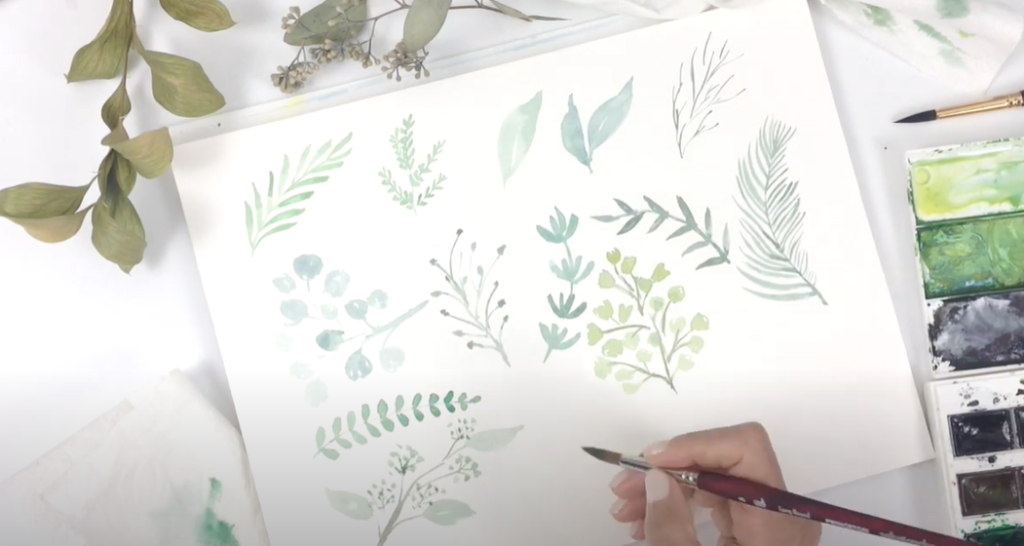
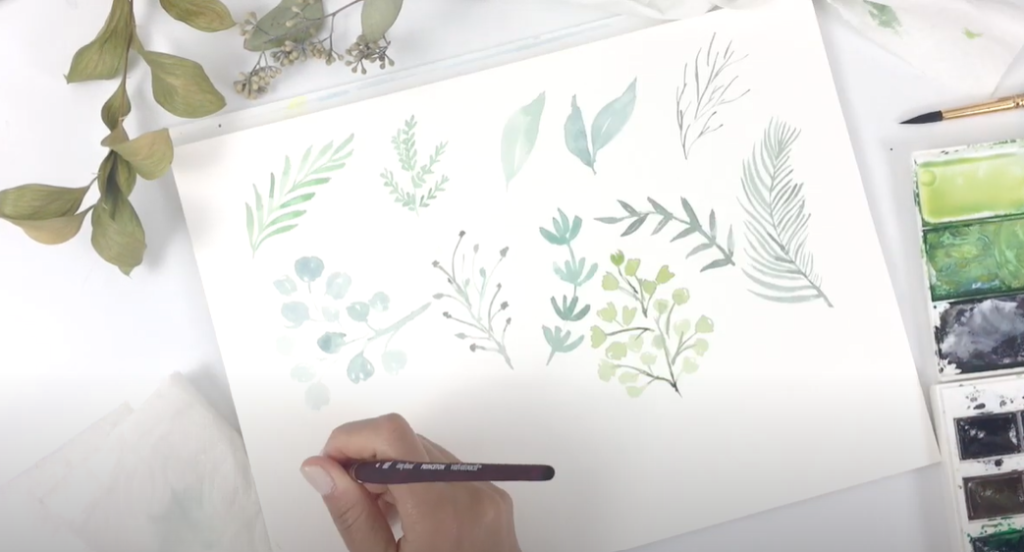
 The next style is going to be a little bit “fuzzy”, which may not be the technical term, but you’ll see what I mean! I’m using one main leaf structure in the middle. Then using the end of my brush while the main leaf is still wet, I am pulling out the paint into little fine lines.
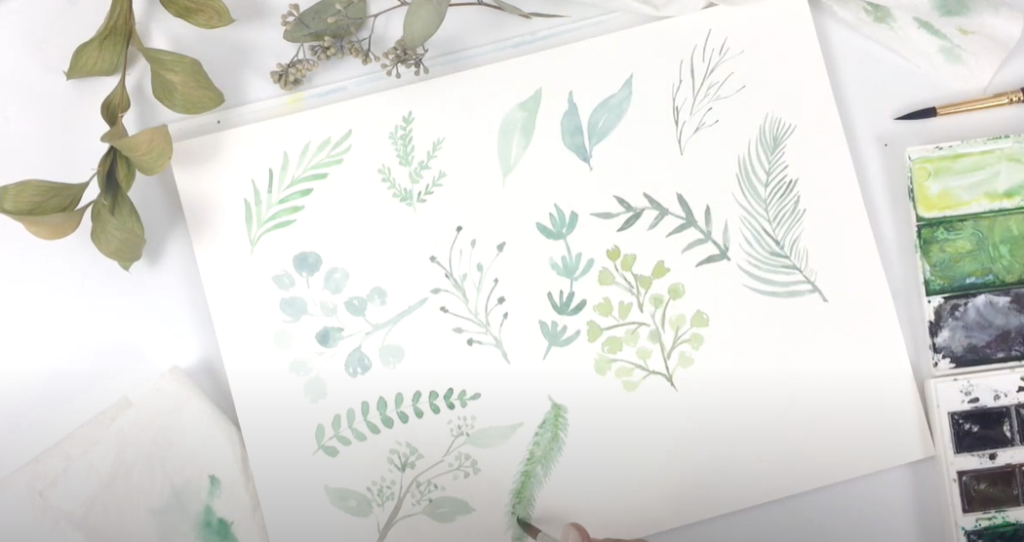
 For the next style, we’re doing something similar to style #3. I wanted to do another set of wide leaves and try doing a double layer, where I build up one layer and then add in details on a second layer. While those are drying, we’ll work on foliage #15!
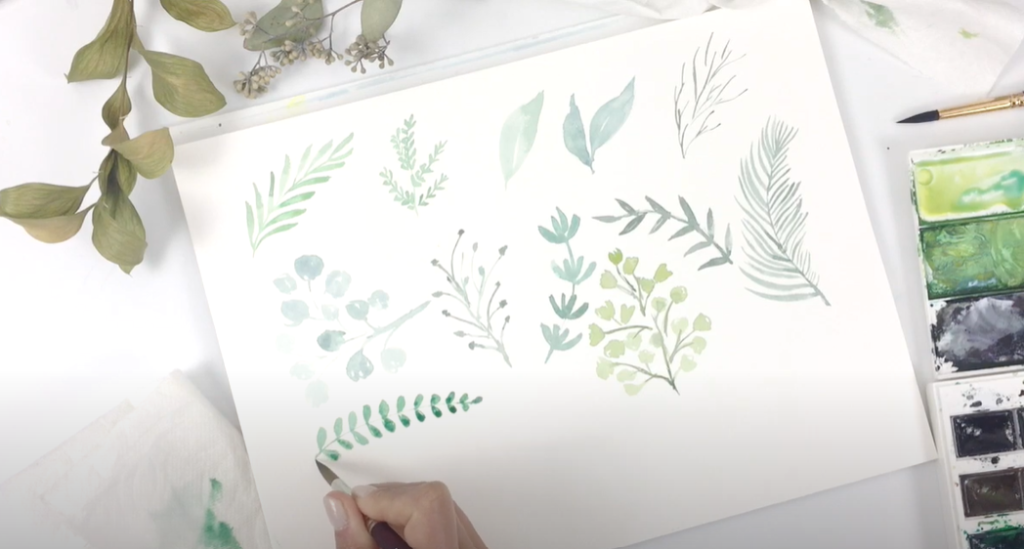
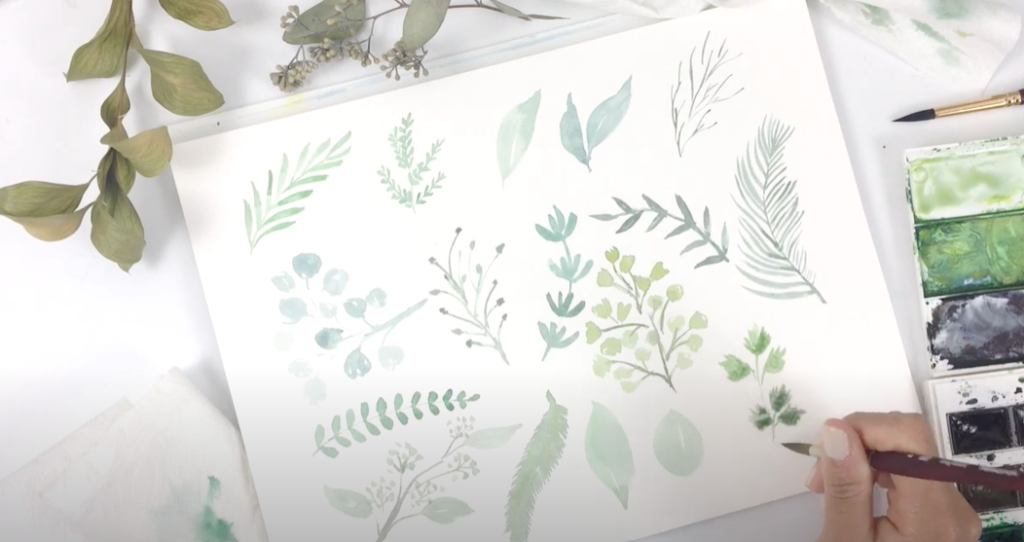
I’m making each of these individual leaves a little bit like a fan, starting with the center piece and adding shorter ones on the side. Then I’m connecting them into clusters of three with thin, small branches. They look a little bit like cilantro!
 Now that the first set has dried, I am going in with a second layer. I’m adding in details such as shadow & texture lines. I also went ahead and added some detail on a few of the other leaves!
Final Thoughts
After this demonstration I have to say that this brush is amazing! I’m really happy I purchased it. It is quite versatile. You can get really fine lines as well as wide strokes. I would say it’s more of a “thirsty” brush, meaning it holds a lot of paint and water.
I hope you had so much fun painting along with me! If you recreate any of these, please tag me on Facebook or Instagram; I’d love to see it.


How to Paint Watercolor Leaves
VIEW THE COMMENTS